Introduction
As virtualisation workloads expand, RAM alone can struggle to meet performance requirements. Starting with ESXi 8 Update 3, VMware now allows administrators to use NVMe SSDs as a memory tier, bridging the gap between volatile memory and persistent storage.
This feature can significantly boost performance, but setting it up isn’t always straightforward. Errors like “read-only file system” or “device already has an existing partition” are common when preparing NVMe drives.
In this post, I’ll walk you through a step-by-step configuration guide based on a real-world setup. You’ll see exactly how to clean, configure, and enable an NVMe device for memory tiering in ESXi 8 Update 3—while avoiding the common pitfalls.
💡 Practical Tip: I used a Windows bootable USB stick, started the installer, and when prompted to choose an installation partition, I deleted all existing partitions. This ensured the NVMe drive was completely clean with no VMFS remnants before proceeding.
Step 1: Enable Memory Tiering in the Kernel
Before you can use any NVMe device as a memory tier, you need to enable memory tiering in the ESXi kernel:
esxcli system settings kernel set -s MemoryTiering -v TRUE
This allows ESXi to recognize NVMe storage as a valid memory tier candidate.
Step 2: Verify NVMe and Other Storage Devices
Next, confirm which devices are available on your host:
esxcli storage core path list
Typical output will show your NVMe device and any other storage. For example:
pcie.3a00-pcie.0:0-t10.NVMe____NVME_SSD_1TB____________________________0100000000000000
  Device Display Name: Local NVMe Disk
  Adapter: vmhba1
  Plugin: HPP
  State: active
This shows the NVMe is recognized but not yet configured as a tier device.
Step 3: Clean the NVMe Device
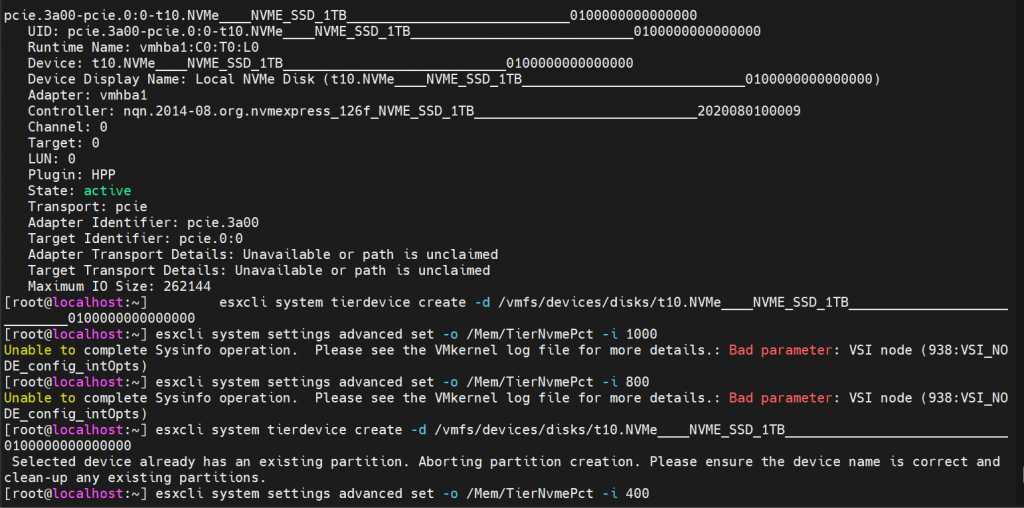
NVMe devices previously used for VMFS or other partitions often have leftover metadata. Attempting to create a tier device before cleaning will fail with errors like:
Selected device already has an existing partition. Aborting partition creation.
Make sure all datastores using the NVMe are unmounted. If the device is still claimed internally, a host reboot may be necessary to release any lingering claims.
Step 4: Create the NVMe Tier Device
Once the NVMe device is free of partitions and claims, create it as a tier device:
esxcli system tierdevice create -d /vmfs/devices/disks/t10.NVMe____NVME_SSD_1TB____________________________0100000000000000
If successful, ESXi now recognizes the NVMe as available for memory tiering.
Step 5: Set the Memory Tiering Percentage
Now configure what percentage of the host memory should be accelerated using the NVMe tier:
esxcli system settings advanced set -o /Mem/TierNvmePct -i 400
Note: The value must be a valid percentage (
0–100). Using an invalid value like600or800will throw errors.
Step 6: Reboot the Host
Finally, reboot the ESXi host to apply all kernel and tiering changes:
reboot
After reboot, your NVMe device is now functioning as a memory tier, accelerating memory operations and improving performance for workloads that benefit from high-speed NVMe storage.
Tips and Gotchas
- Always unmount any datastore on the NVMe device before attempting to create a tier device.
- Tip I used Windows 11 installattion CD to deleted all the partions from the NVME drive
- If
ddorpartedUtilfail with read-only errors, it usually means ESXi still has an internal claim. A reboot is the cleanest fix. - Check
esxcli storage core path listto confirm the NVMe device is recognized and not in use. - Only set
/Mem/TierNvmePctafter the tier device is created; otherwise, ESXi will throw a “bad parameter” error.
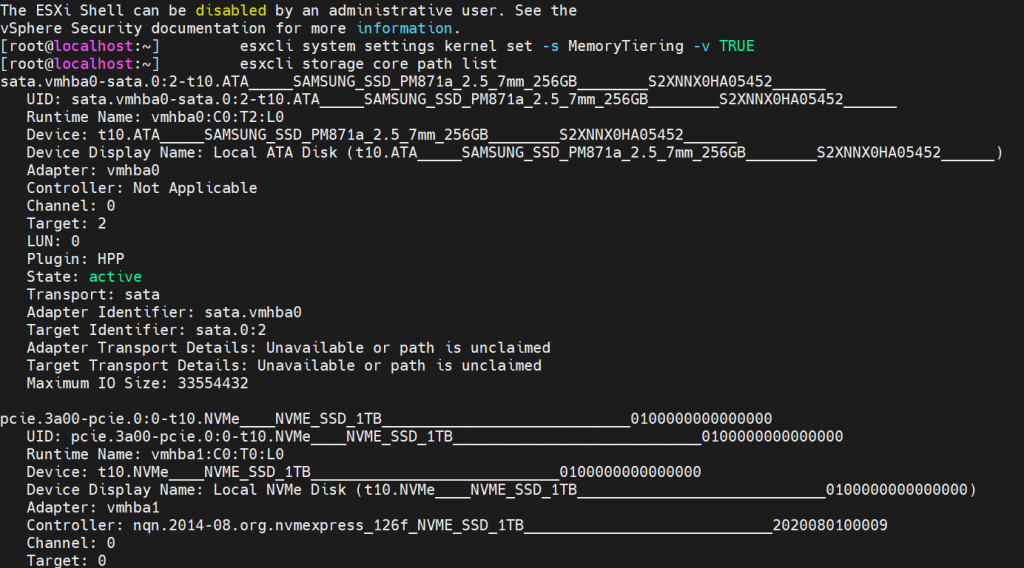
[root@localhost:~]   esxcli system settings kernel set -s MemoryTiering -v TRUE**
[root@localhost:~]         esxcli storage core path list
sata.vmhba0-sata.0:2-t10.ATA_____SAMSUNG_SSD_PM871a_2.5_7mm_256GB________S2XNNX0HA05452______
UID: sata.vmhba0-sata.0:2-t10.ATA_____SAMSUNG_SSD_PM871a_2.5_7mm_256GB________S2XNNX0HA05452______
Runtime Name: vmhba0:C0:T2:L0
Device: t10.ATA_____SAMSUNG_SSD_PM871a_2.5_7mm_256GB________S2XNNX0HA05452______
Device Display Name: Local ATA Disk (t10.ATA_____SAMSUNG_SSD_PM871a_2.5_7mm_256GB________S2XNNX0HA05452______)
Adapter: vmhba0
Controller: Not Applicable
Channel: 0
Target: 2
LUN: 0
Plugin: HPP
State: active
Transport: sata
Adapter Identifier: sata.vmhba0
Target Identifier: sata.0:2
Adapter Transport Details: Unavailable or path is unclaimed
Target Transport Details: Unavailable or path is unclaimed
Maximum IO Size: 33554432

pcie.3a00-pcie.0:0-t10.NVMe____NVME_SSD_1TB____________________________0100000000000000
UID: pcie.3a00-pcie.0:0-t10.NVMe____NVME_SSD_1TB____________________________0100000000000000
Runtime Name: vmhba1:C0:T0:L0
Device: t10**.NVMe____NVME_SSD_1TB____________________________0100000000000000**
Device Display Name: Local NVMe Disk (t10.NVMe____NVME_SSD_1TB____________________________0100000000000000)
Adapter: vmhba1
Controller: nqn.2014-08.org.nvmexpress_126f_NVME_SSD_1TB____________________________2020080100009
Channel: 0
Target: 0
LUN: 0
Plugin: HPP
State: active
Transport: pcie
Adapter Identifier: pcie.3a00
Target Identifier: pcie.0:0
Adapter Transport Details: Unavailable or path is unclaimed
Target Transport Details: Unavailable or path is unclaimed
Maximum IO Size: 262144
[root@localhost:~]         esxcli system tierdevice create -d /vmfs/devices/disks/t10.NVMe____NVME_SSD_1TB____________________
**0100000000000000

[root@localhost:~] esxcli system settings advanced set -o /Mem/TierNvmePct -i 400
[root@localhost:~]   reboot
so my NVME is here and ignore all the commands which I was trying to test to increse the memory it only take 400
After giving the above command reboot the esx host.
Here is a photo of booting for the first time
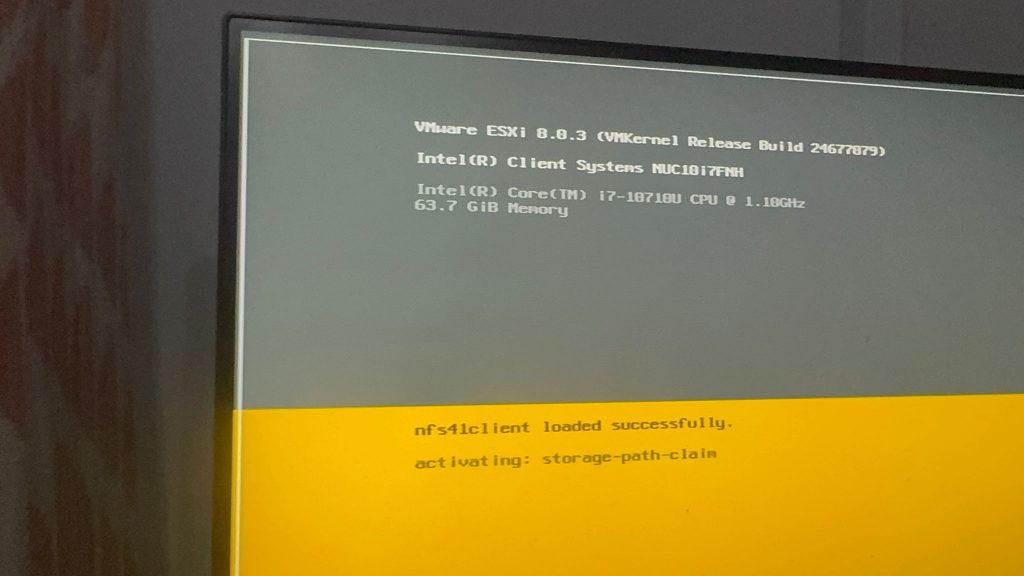
After the reboot

See it in action on my YouTube Channal
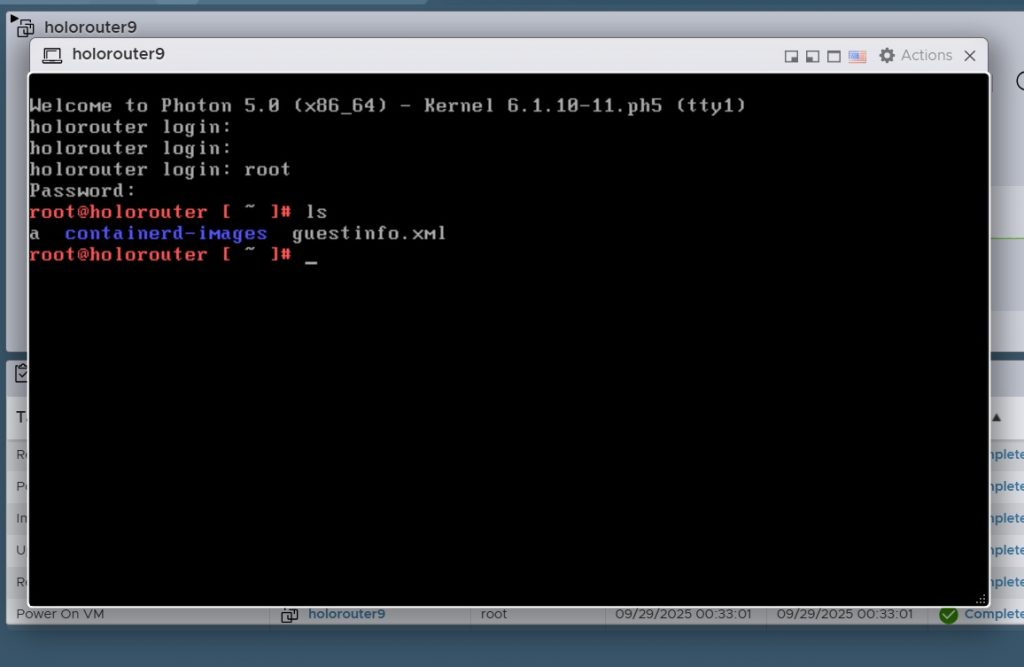
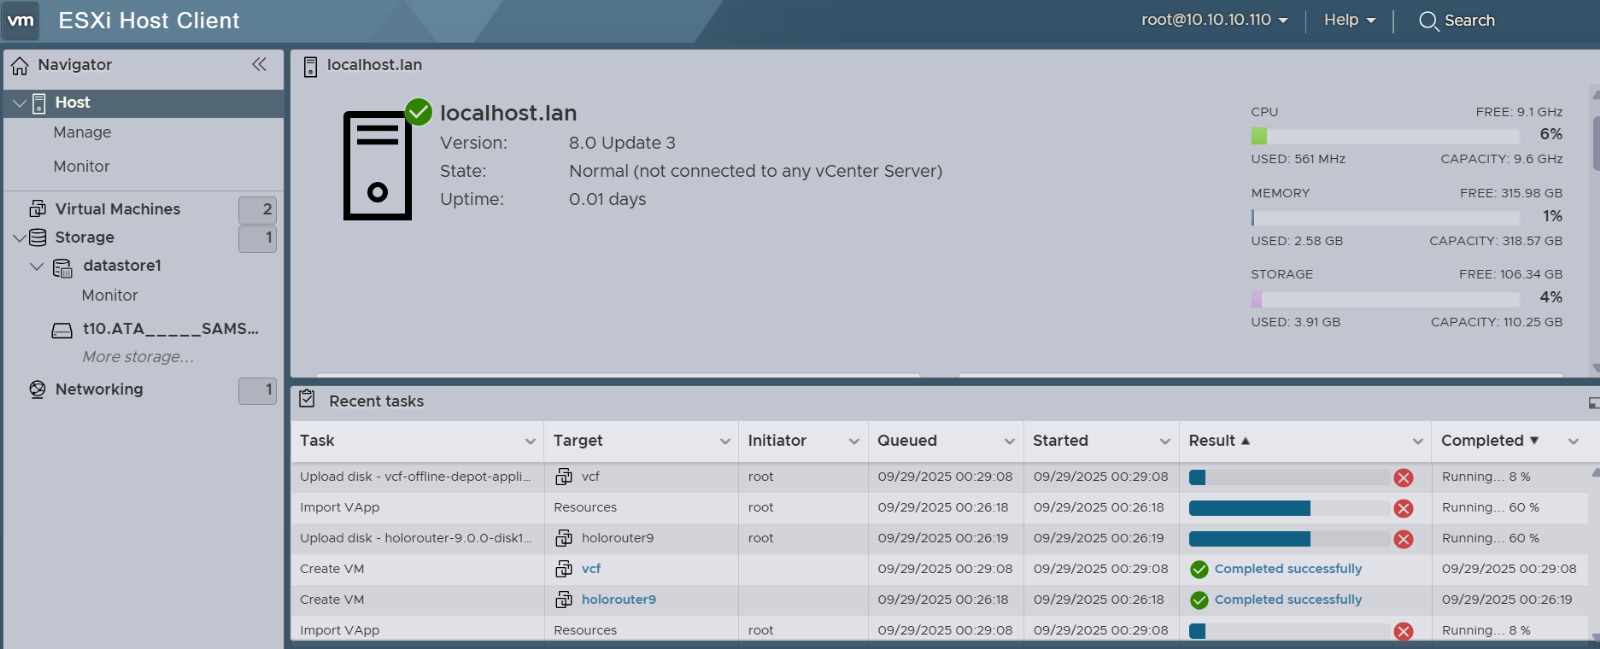
Login to the ESX and you can see the Memory 315 GB.

Proof that we are able to run vm ( btw I have enabled legacy CPU for this ESX8 server as I am using Intel NUC10 i7, which is not on the ESX8 Compatible list. )