I have been asked this question time and time again on how to setup a lab for vSphere to start learning VMware.
In this post today I am going to walk you through how I have created an amazing lab just using simple commodity hardware, which is easy to find and cheap to run with the electricity bills. Especially if you are planning to run it 24/7 as I do.
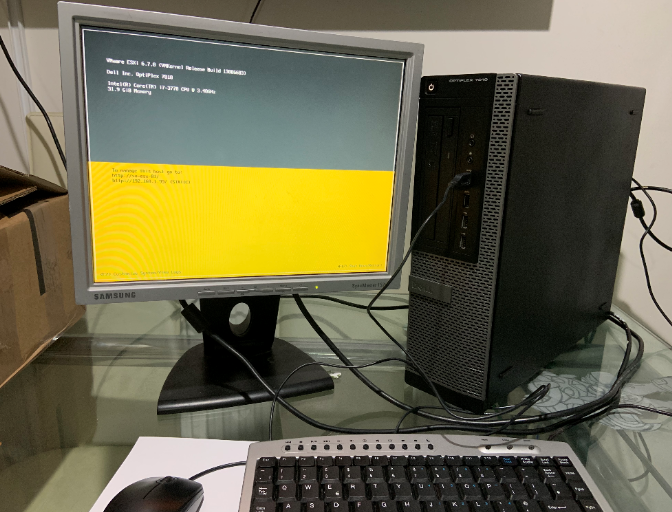
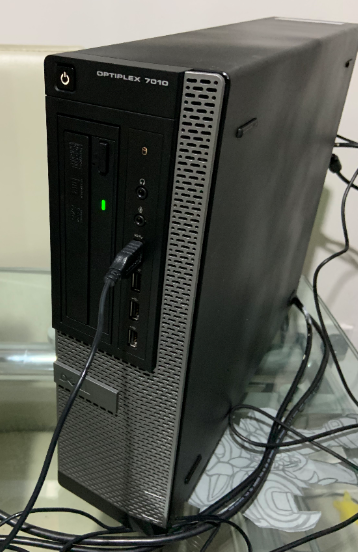
Hardware – Dell Optiplex 7010
I have purposely used Dell Optiplex 7010 as it is easy and cheap to buy.
Configuring / Billing of Material (BOM)
CPU Intel i7
Memory – 32GB
2TB HDD
CD/DVD
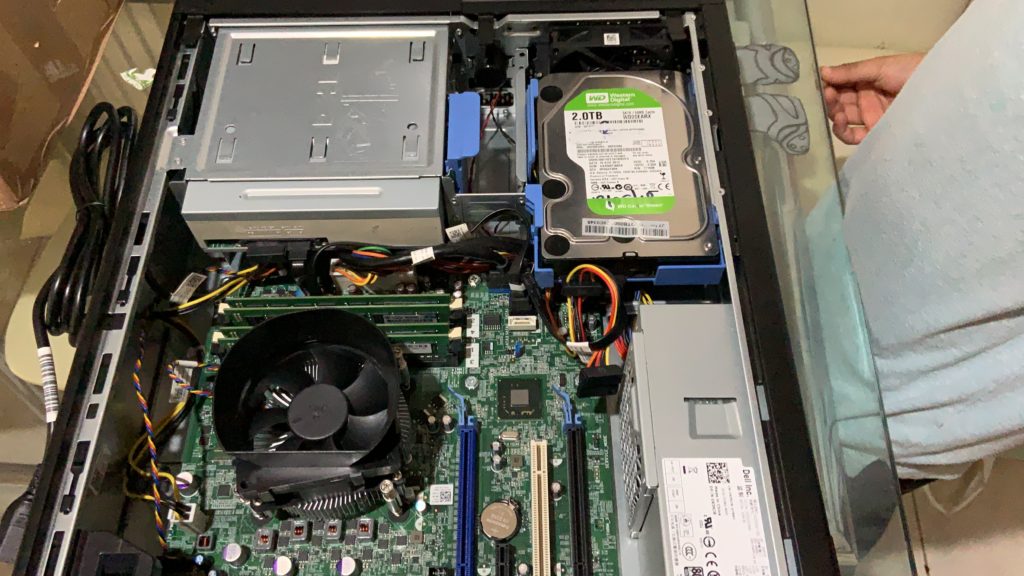
So as you can see this is a simple Dell desktop which you can buy, I have bought this from eBay for £350, The most important thing to remember is the memory, so the more the merrier. In my case, I have messaged the eBay seller and found out the maximum memory that is supported for this desktop which is 32GB and I have got 8 GB X 4 Memory Modules.
Although this looks like a good option sadly, there is no more room for an upgrade of memory as this is the maximum the motherboard supports.
I bought this kit back in Feb 2019, it fit the requirement I had for my basic home lab with vSphere 6.7
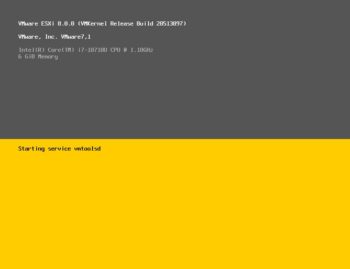
Installing ESXi
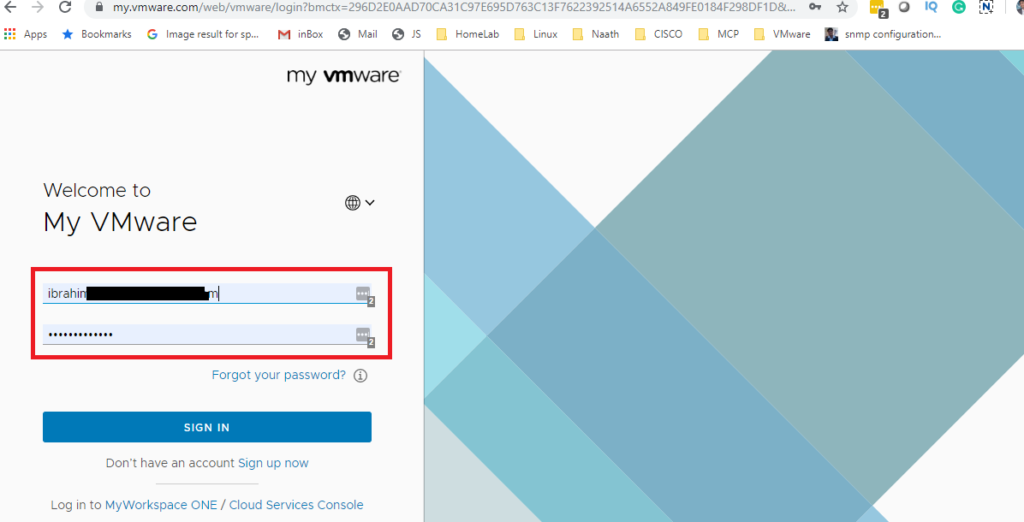
Once you get the server ready, Install ESX 6.7 you will need to register on https://www.vmware.com and download the ESX 6.7 Update 3 ISO first.
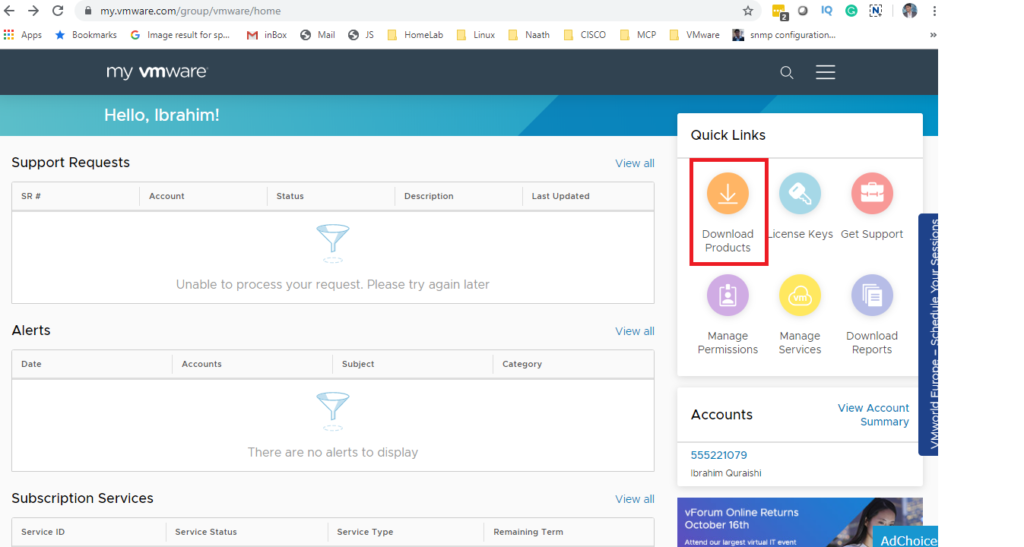
- register with my VMware portal httpss://my.vmware.com/web/vmware/registration
- once register login with the credentials
- Once you log-in you will find the downloads
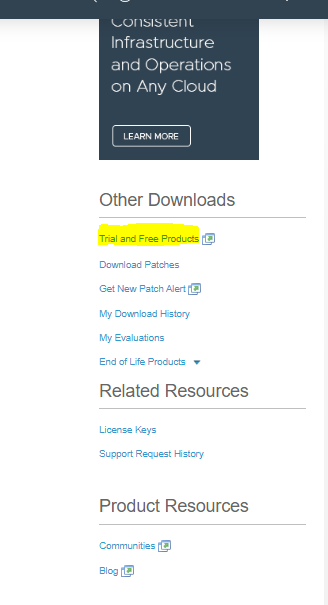
4. click on Trial and Free products.
you will then find vSphere for Download free Trial
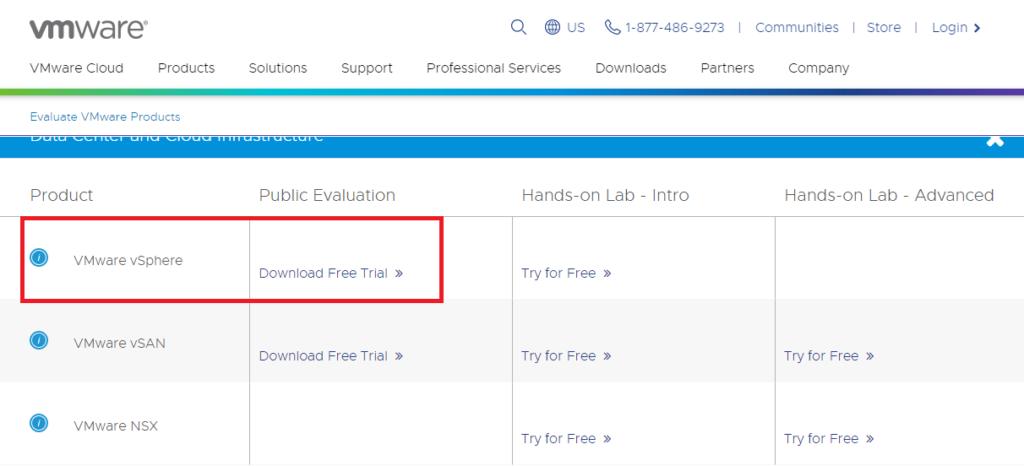
You can also have a go at the VMware Hands-on Lab ( HOL) they are very good too.
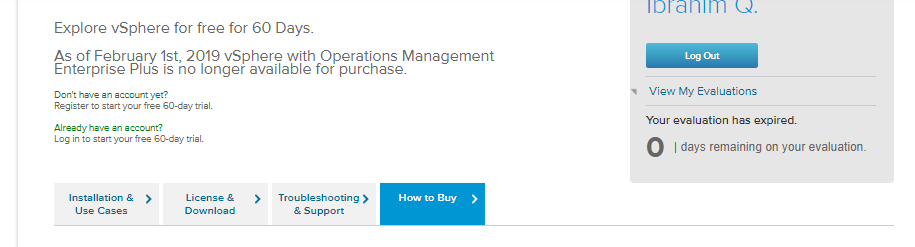
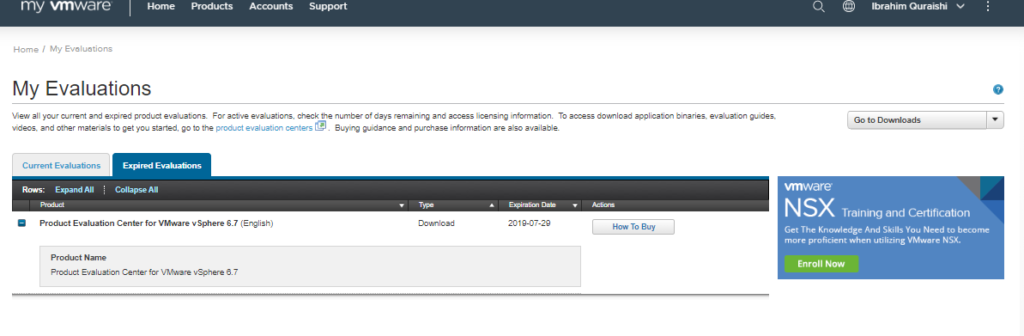
so once we click on the download link we will get 60 days evaluation for vSpehre 6.7 or any VMware products for that matter. as you can see my Evaluation edition time is compleated
This should let you download your software if you have registered a new MyVMware account.
You can also check out the old products that y you can click on View My Evaluation
Then you will need to burn the ISO to CD or DVD disk to install the ESX hypervisor on the server.
Please follow the blog given below to complete the ESX installation process. although this was done for ESX 6.7 Update 2 the process is the same for Update 3 too.
https://agileops.co.uk/2019/05/02/installing-vsphere-6-7-update-2/
Finally, at the end of the installation, you will find your brand new Hypervisor ready for action. you might need to check if the VT is enabled in the Bios to start nested esx host if that’s what you are planning to do like I have done in my lab.
You can find the full process of Installing the ESX on my YouTube channel where I teach VMware to beginners VMware Tutorial for Beginners | Session 3: installing vSphere 6.7
Then you can start installing the vCetner Server, you can go back to the MyVMware website and download the ISO.
Sometimes you see the error message given below:
You either are not entitled or do not have permissions to download this product.
Check with your My VMware Super User, Procurement Contact or Administrator.
If you recently purchased this product through VMware Store or through a third-party, try downloading later.
just click on Trail Download and you should be able to download the ISO
httpss://my.vmware.com/web/vmware/details?downloadGroup=ESXI670&productId=742&rPId=24857
You can follow my blog Installing VMware vCenter Server 6.7 Update 2
How does my lab look like, well that’s a good subject? please check the screenshot below:
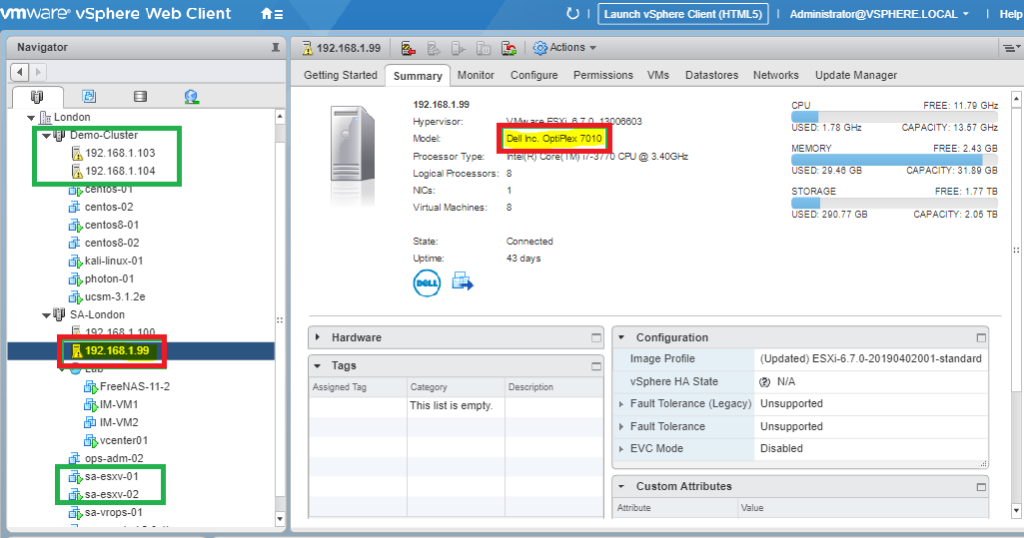
I have the Physical dell Optiplex server which I have highlighted in red. as as you can see I am chewing almost all the memory on the server currently.
I have two VM running nested esx which are highlighted in the demo cluster running around 7 VM’s
I have the vCetner server and vROPS instance running directory on the dell server.
How can I forget I have used FreeNAS for shared storage which is provisioned using ISCSI software initiators. you will find a full process of how to provide shared storage on the YouTube chanal in two parts.
Part1:
Part2: