This blog will be about installing the ESX server from scratch. Once you have mounted the iso or created the nested VM, check out the previous blog post hear https://agileops.co.uk/how-to-install-nested-esxi-server/ if you are doing nexted setup to enabled nested ESX installation.
-
Installation
Boot the server or VM with ESXi CD
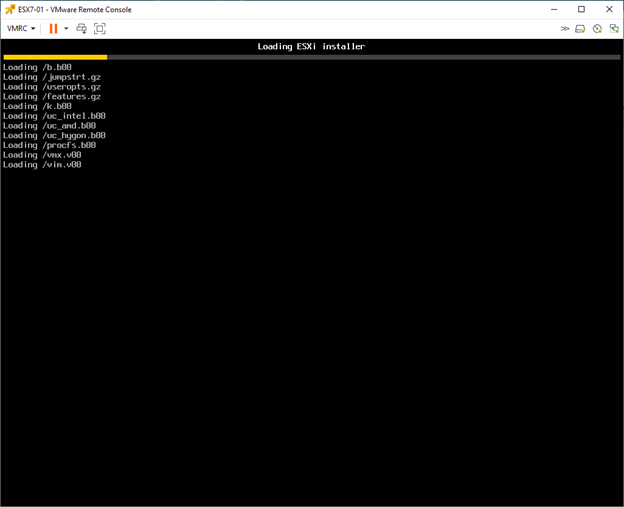
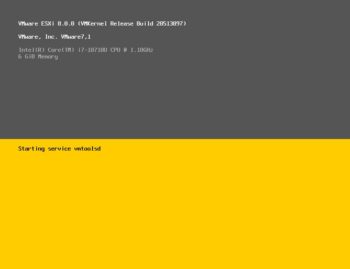
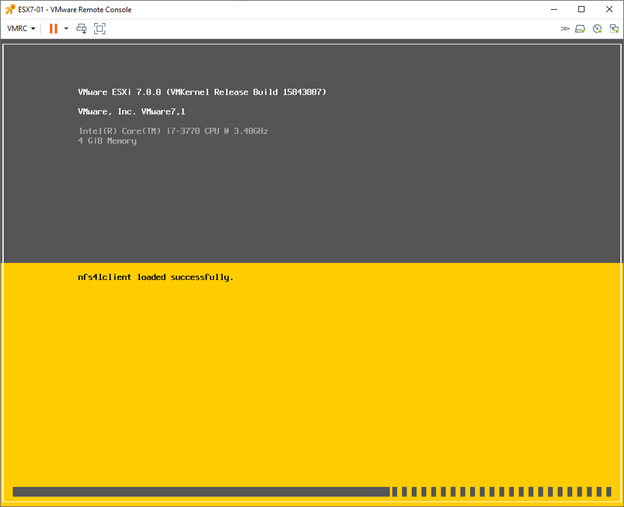
It may take some time to load the installation files and you will start to see the very famious Gray and Yellow screen
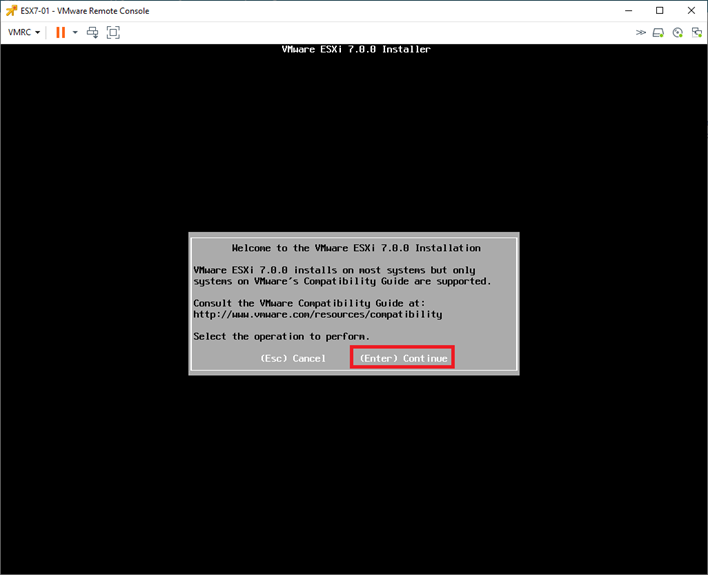
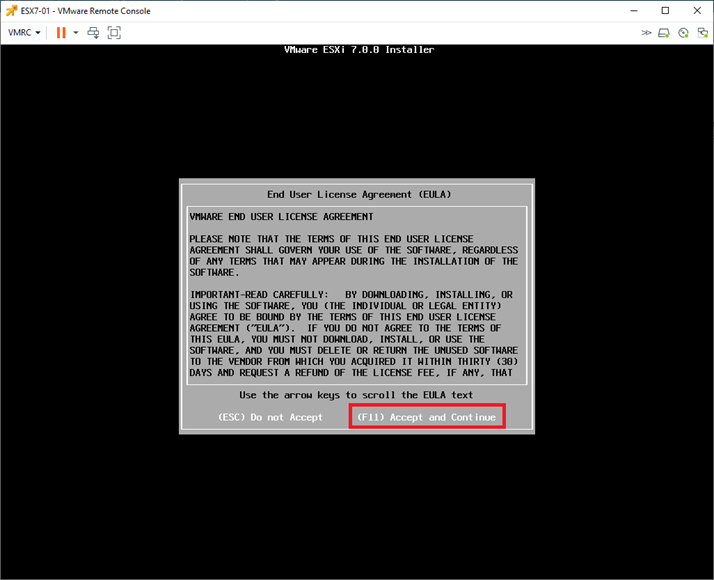
Welcome Screen will pop up once the installation files are loaded. You will have two choices ESC to Cancel or Enter to Continue as shown below:
You will need to press F11 to Accept and Continue
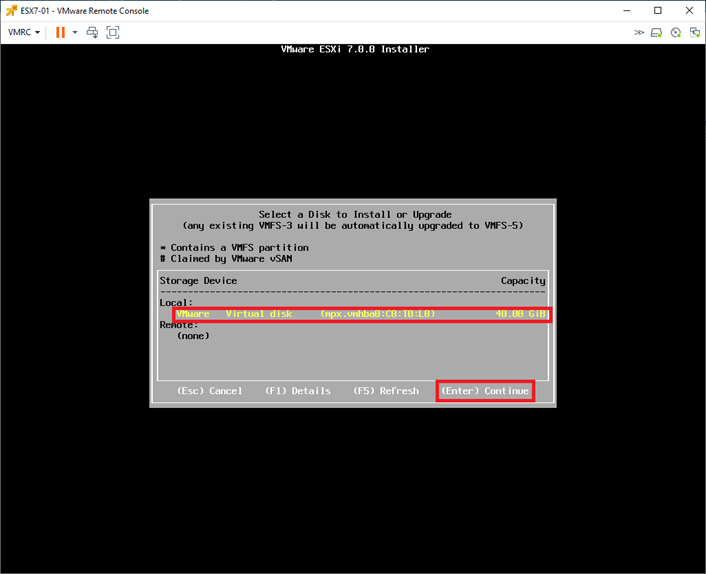
You will then need to select the location to install your ESXi Server as my setup is nested ESX and I have allocated 40GB VMDK file you can see it here select and click Enter to continue.
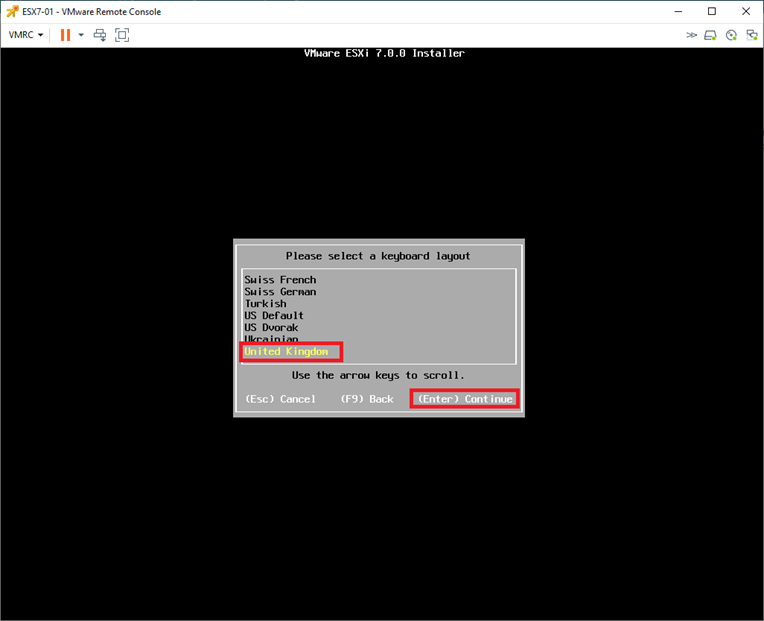
Next you will be asked to select the Keyboard layout. I have selected UK and Click on Enter to continue
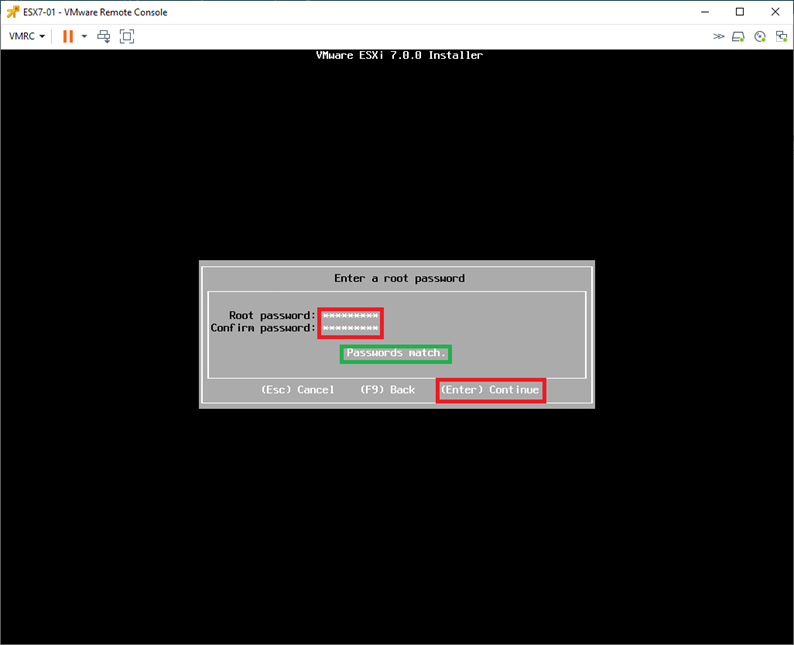
You will then be selecting a root password, need to be alpha numeric and make sure you remember it or you might need to re-install the ESXi again if you forgot it.
Click Enter to Continue
Nearly done, you will be given a Waring that the disk will be repartitioned so this is the final stage click F11 to install
Note if you are upgrading you will not be asked for entering root password however you will be asked few options
- In place Upgrade
-
Upgrade as new OS
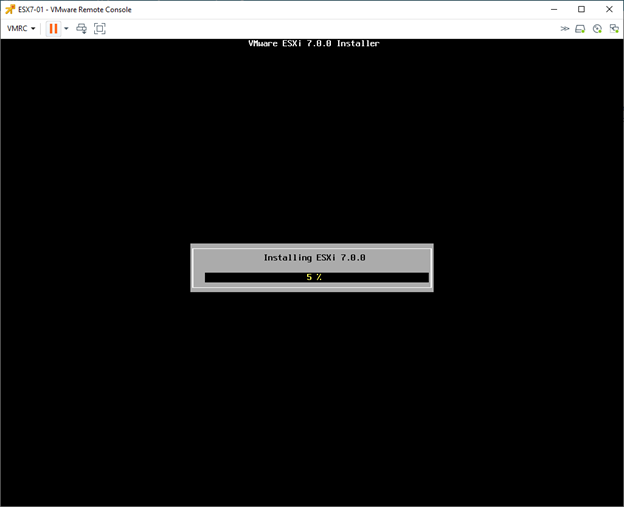
You can now sit back and watch the installation should not take more than 4 to 5 minutes.
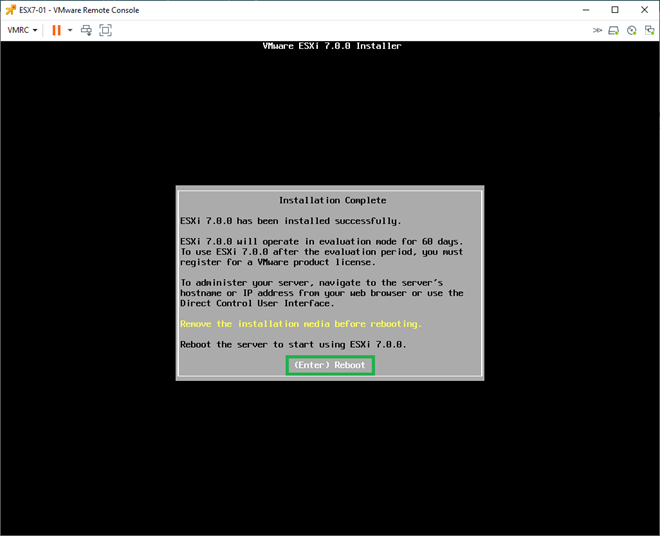
Once the installation is completed you will be asked to press Enter to reboot.
-
Configuration
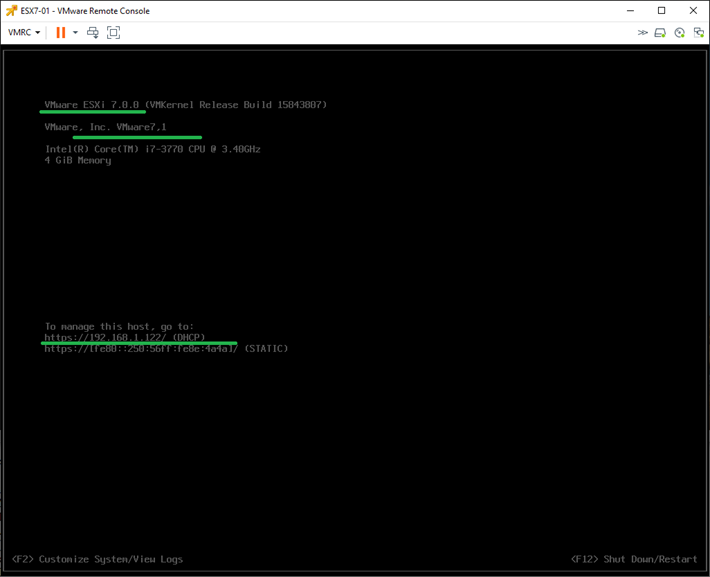
In the configuration section you will learn how to configure the ESXi host, assign IPaddress, DNS, Gateway Address using DCUI.
The Direct Console User Interface (DCUI) allows you to interact with the host.
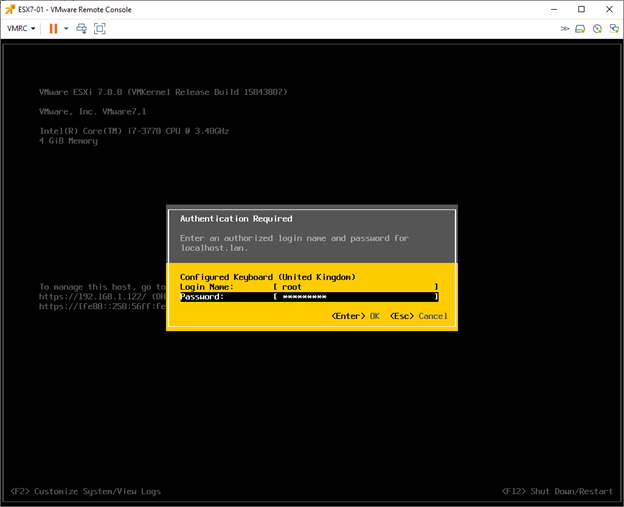
Press F2 to login to the DCUI.
Enter the root password which you have chosen during the installation
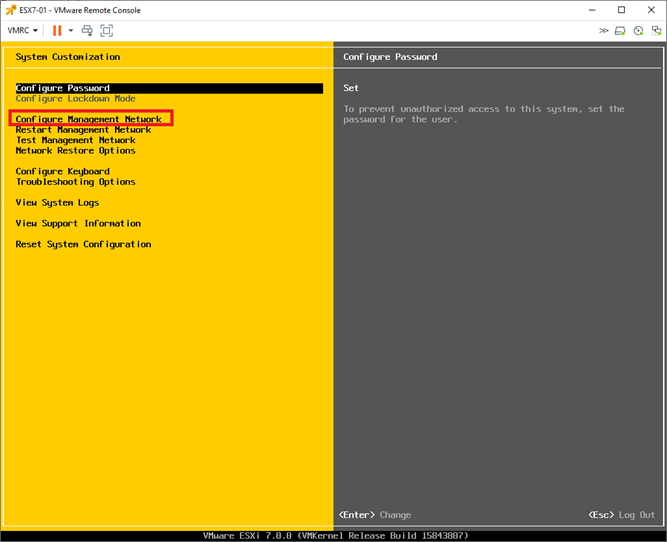
The first thing you will be doing is configuring the Management Network
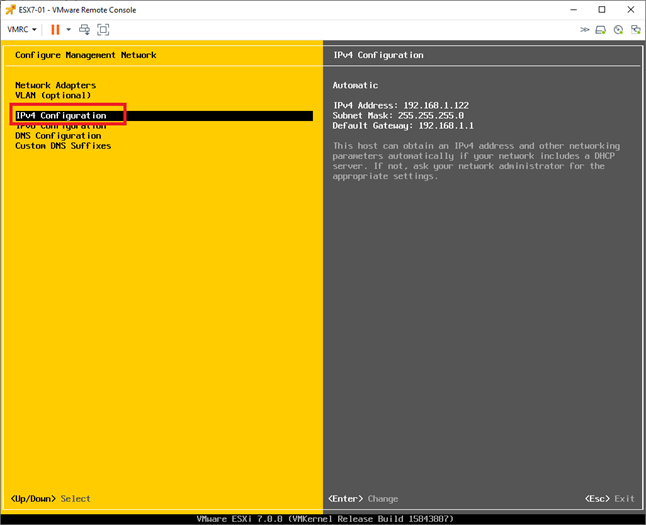
Scroll down to the IPv4 Configuration
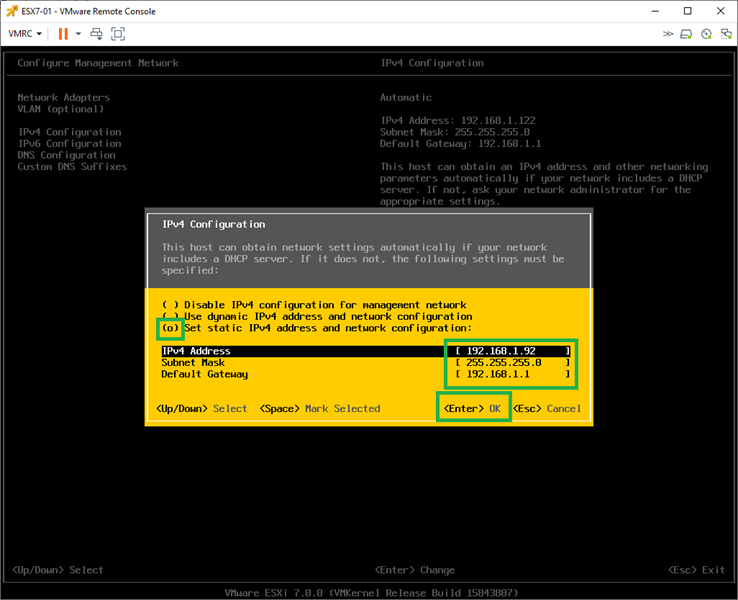
Configure the following:
- Set static IPv4 address and network configuration
- IPv4 Address
- Subnet Mask
- Default Gateway
-
Press Enter to save and exit.
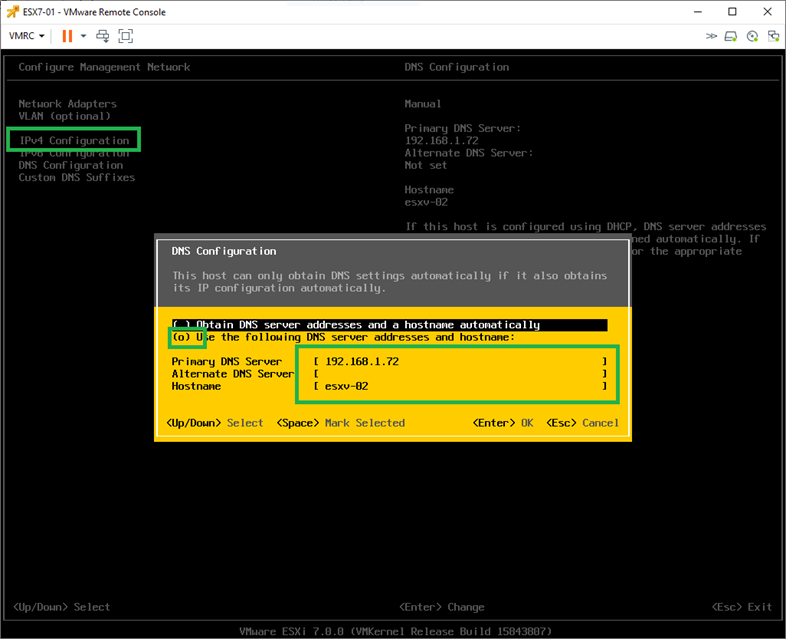
Then Set option to Use the folloing DNS server address and hostname
then setup your DNS and the host name
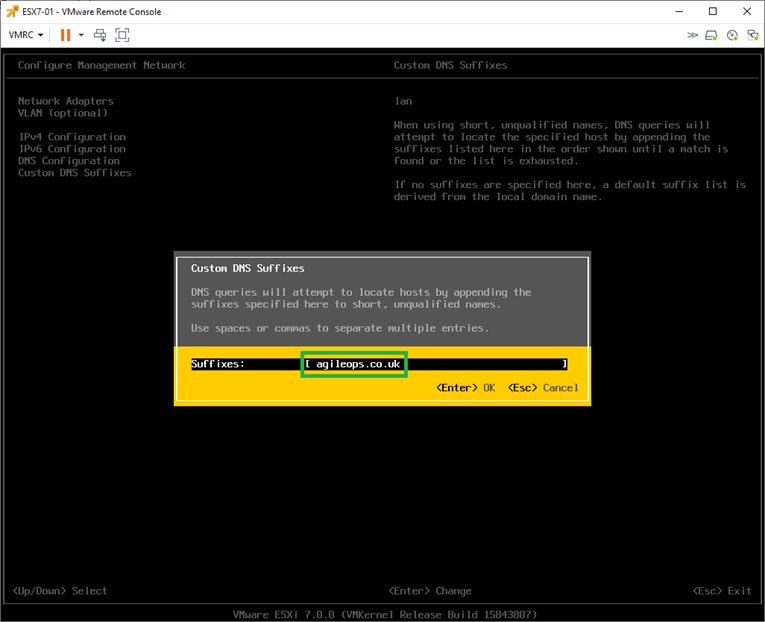
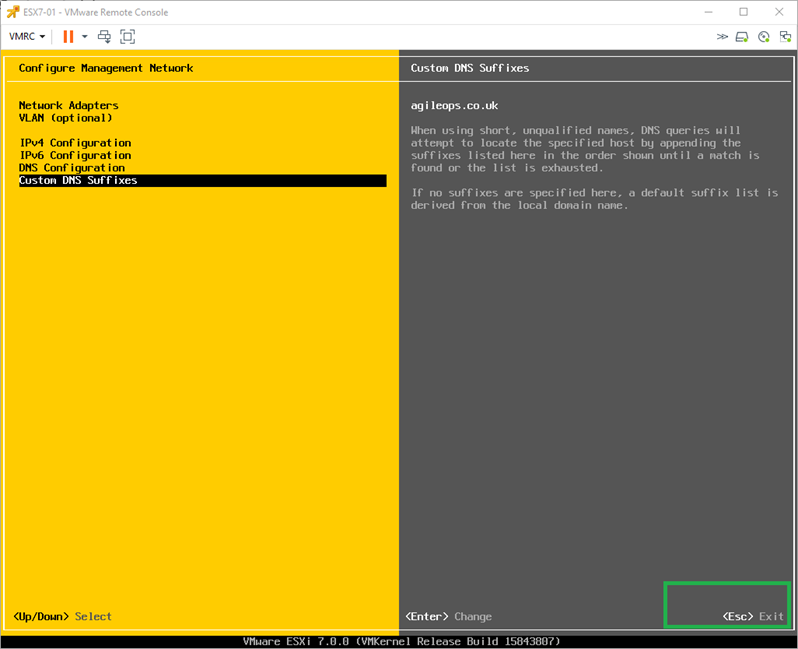
Finally set the Suffixes, and press Enter.
Then press Esc to exit
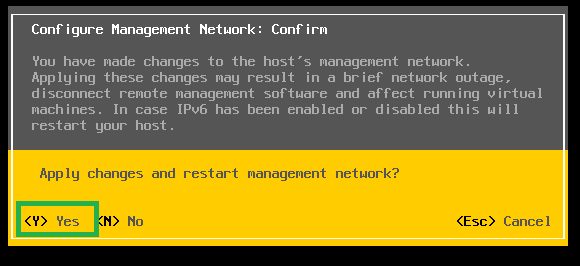
You will see a pop up appring for confirmation
Press Y
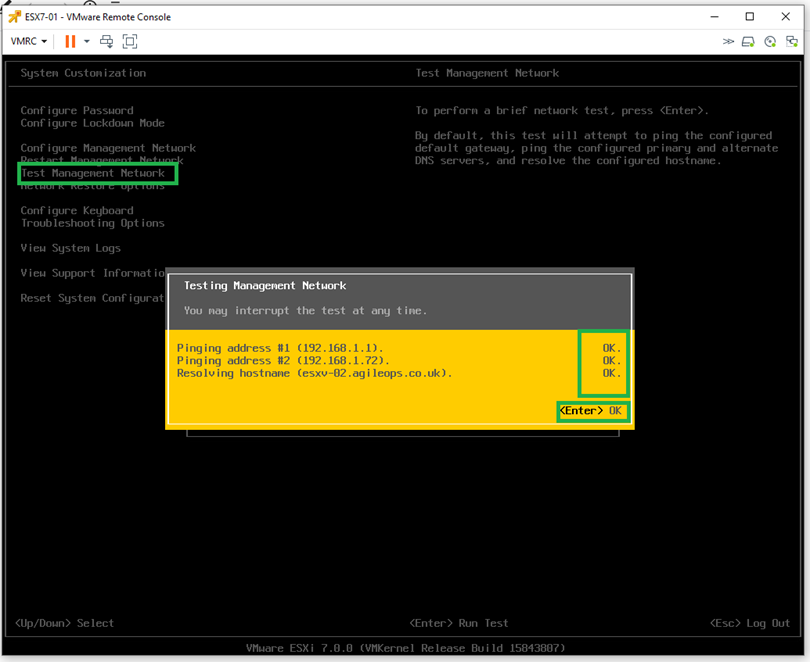
You can test the configuration by clicking Test Management Network
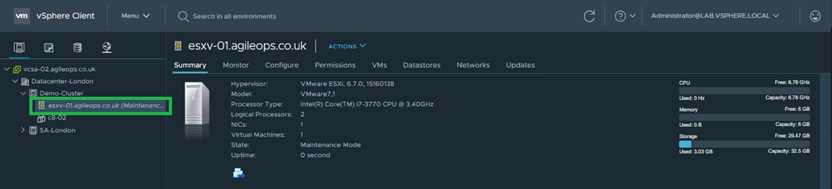
How to add a host to a cluster in vCenter
-
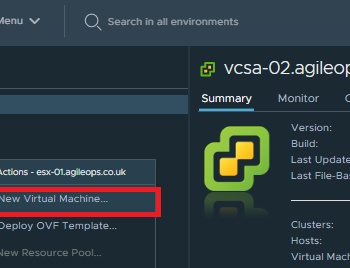
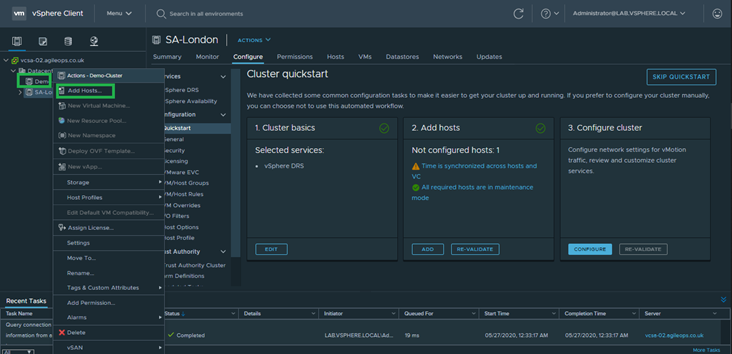
Right click on the cluster and click on Add host
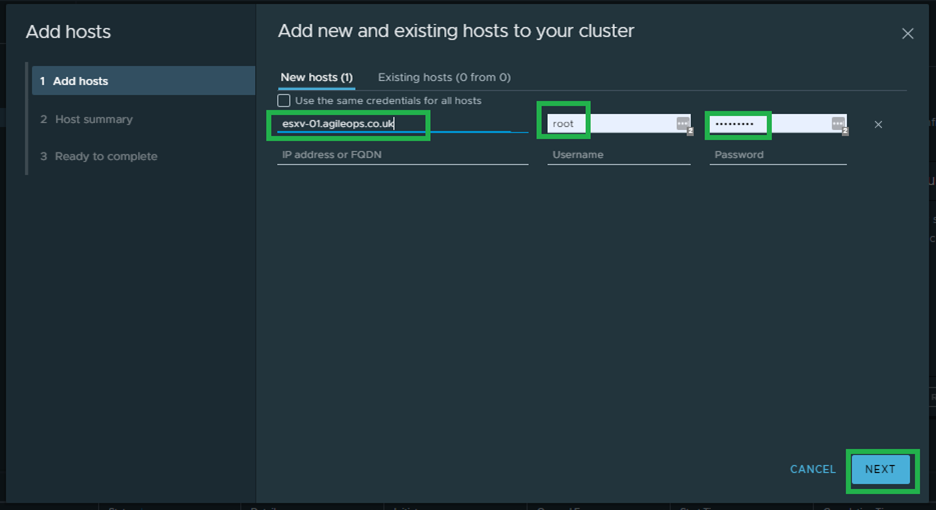
Give the host name and root password. Click on Next accept the thumbprint.
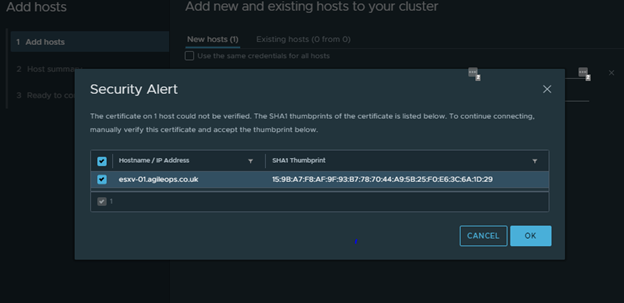
You will see the security alert for sha1 thumbprint click on OK.
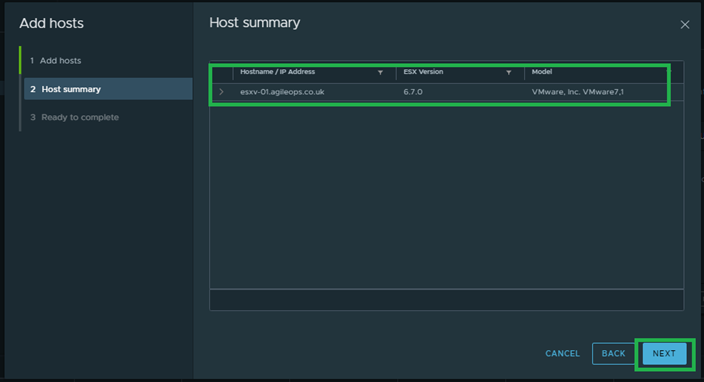
Click on Next
Click on Finish
Finally you will be able to see your host added in the cluster