In this post I am going to take you through installing vCenter server 7 step by step.
Pre-requirement if you are upgrading from previous version of vCetner make sure you understand that only 6.5 and 6.7 supports upgrade to vCetner 7.


Login to the VMware website and download the vCenter Server
Link https://my.vmware.com/group/vmware/info?slug=datacenter_cloud_infrastructure/vmware_vsphere/7_0
The steps to install vCetner 7 very similar to installing vCetner 6.5 or 6.7 for that matter, I have taken screenshots when deploying my vCenter so hope you can follow them easily.
The full Video session of installing the VCSA can be found here:
So, let’s get started we have two states during the installation. State 1 is deployment and Stage 2 is configuration.
.
Mount the ISO
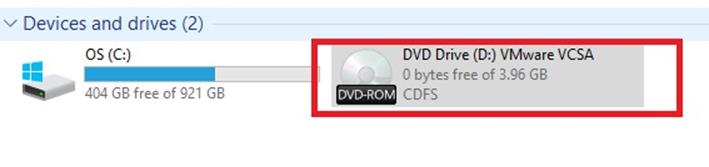
Right Click and Mount

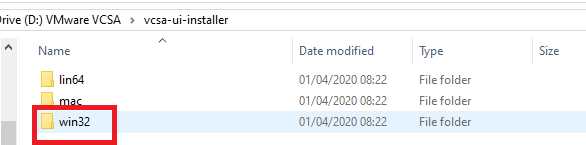
Open the directory called vcsa-ui-installer.

This has the Graphical Interactive installer for Linux, MAC and Windows OS.
I am using Windows 10 I will open win32.
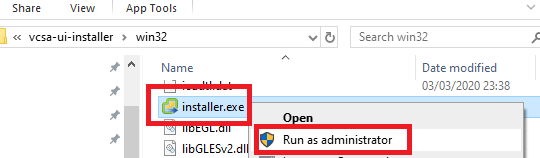
Scroll down and locate the file called installer and right-click to run as an administrator as shown below,
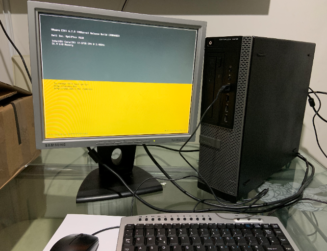
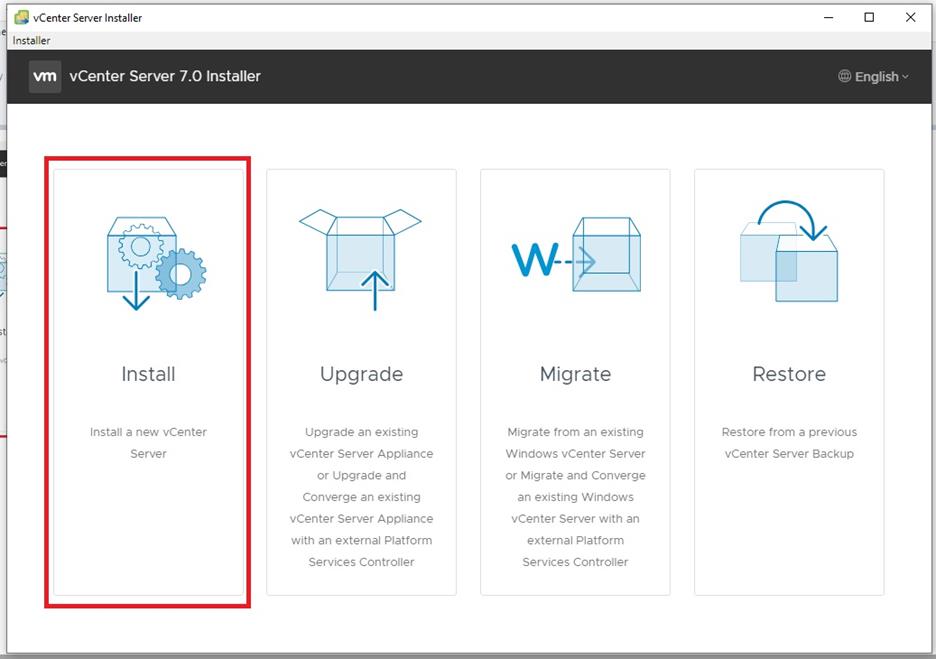
Stage 1
Stage 1 is deploying the VCSA appliance VM on the ESXi host or the vCenter you may have selected.
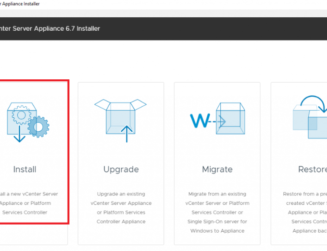
You will find 4 options:
-
Install – new installation
-
Upgrade – to upgrade from 6.5 or 6.7 vCenters
-
Migrate – vCenter 7 does not have a Windows based vCetner, so we will need to migrate it to VCSA ( vCenter Server Appliance. )
-
Restore – to restore corrupted vCenter from backup.
Another thing to remember is from vCetner Server 7 we will only have internal PSC so if you do have external PSC they will converge during the setup.
Click on Install
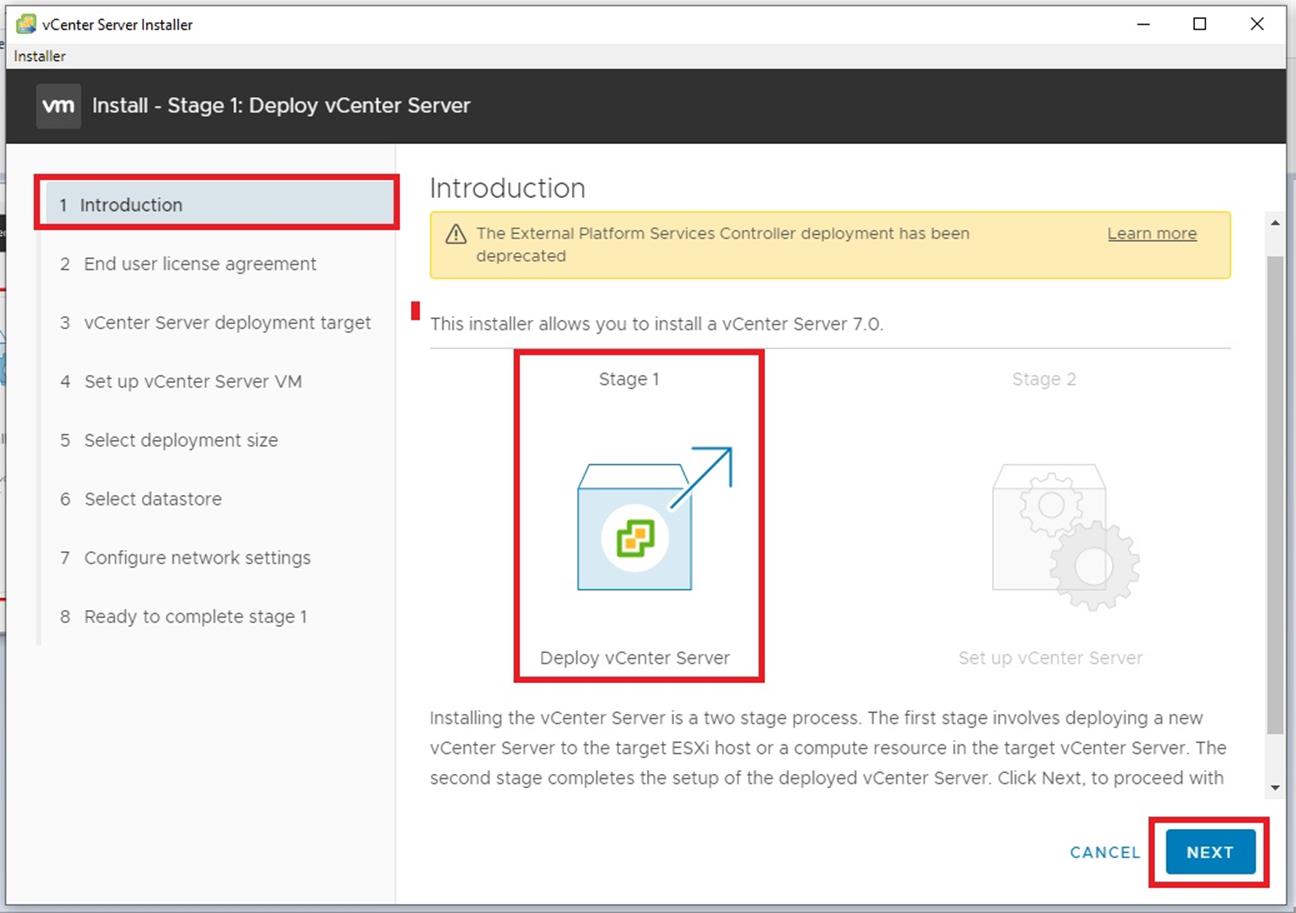
Click Next
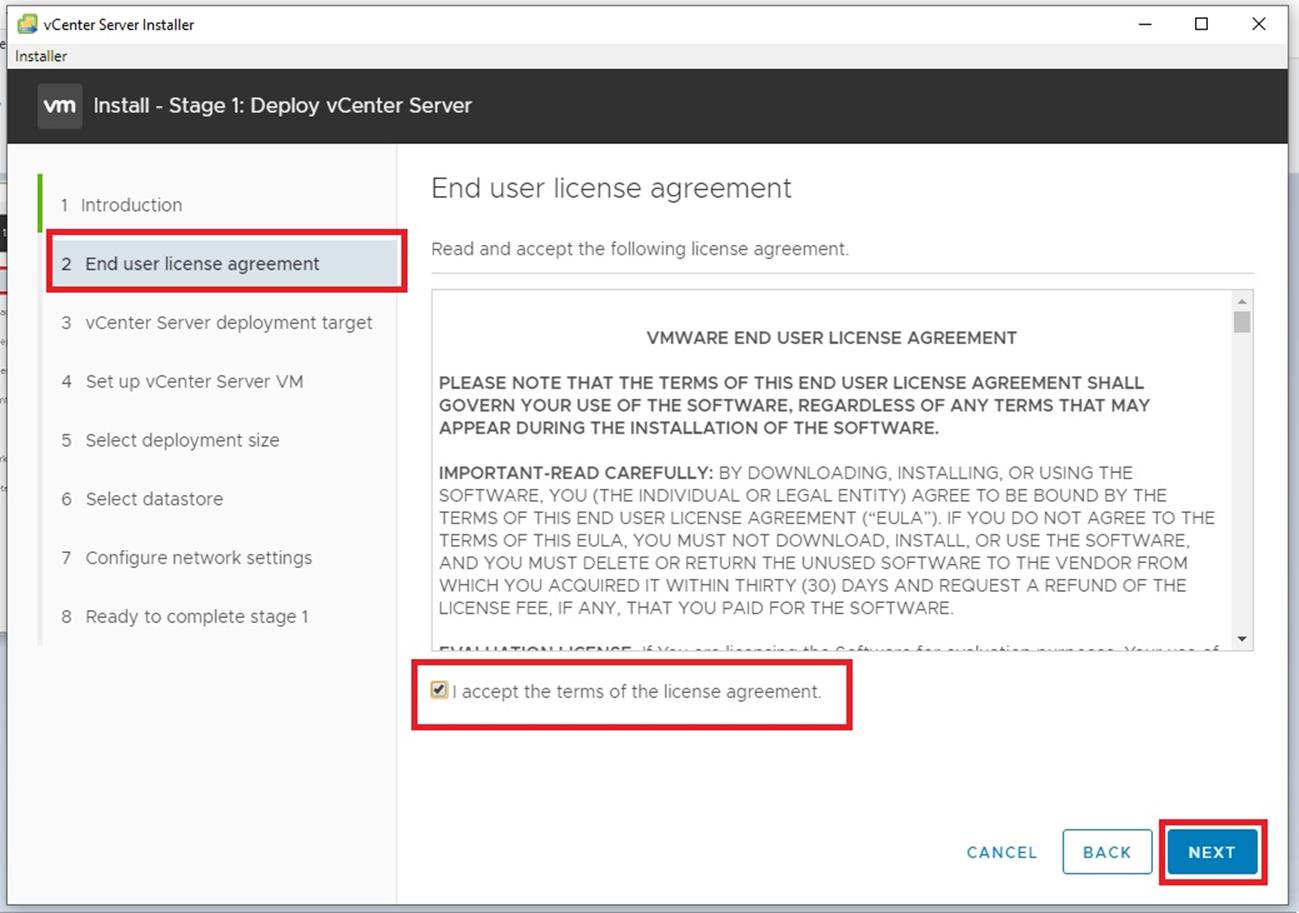
Accept End User Agreement and click I accept the terms of the license agreement.
Click Next
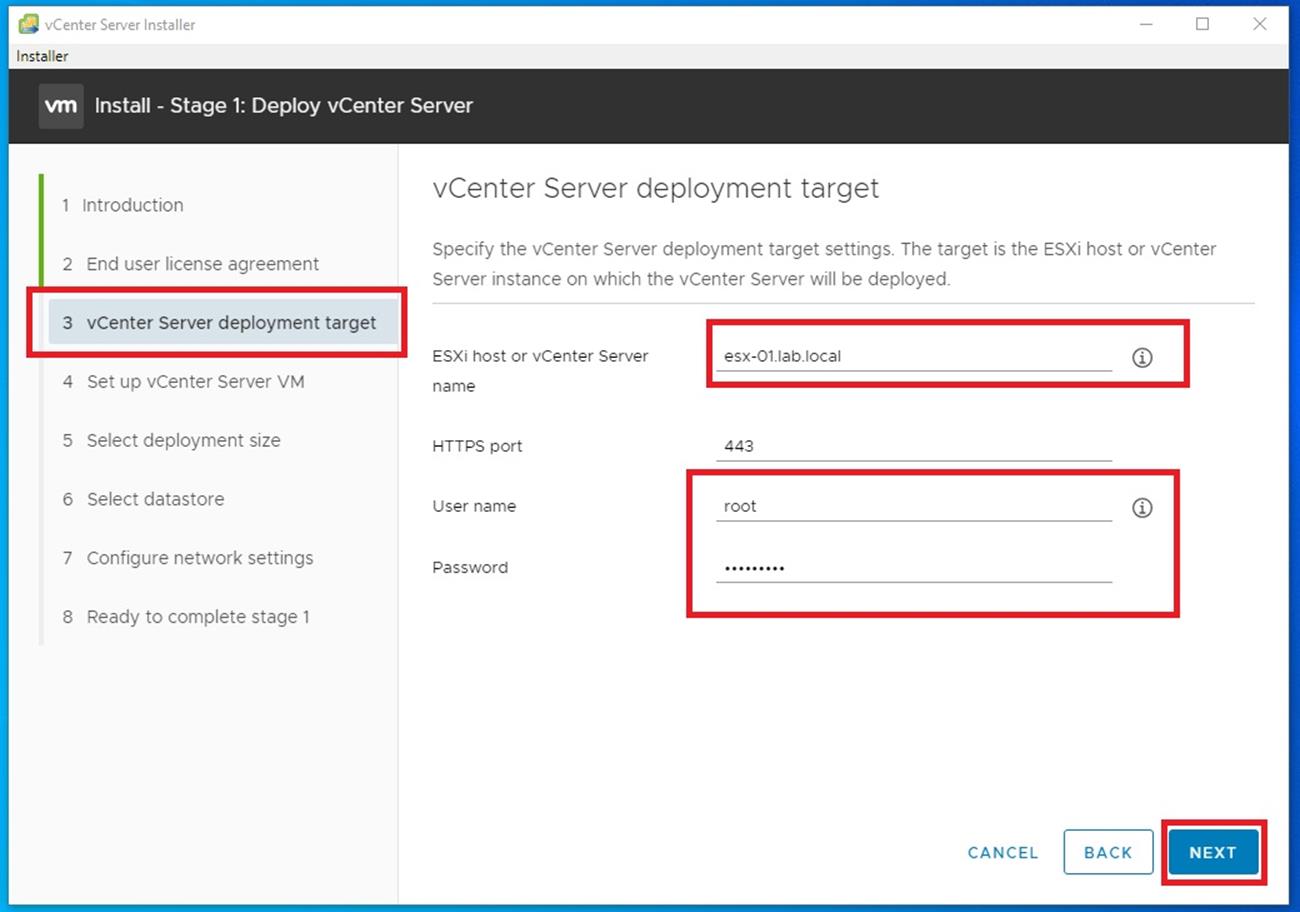
In this step, we will be selecting the target where we will be deploying our new or upgrade vCenter Server. In my example as it’s a brand new setup, I chose to deploy on the freshly installed ESXi 7 host. Provide the root password.
Click Next
the certificate or ssl certificate warning, pops up
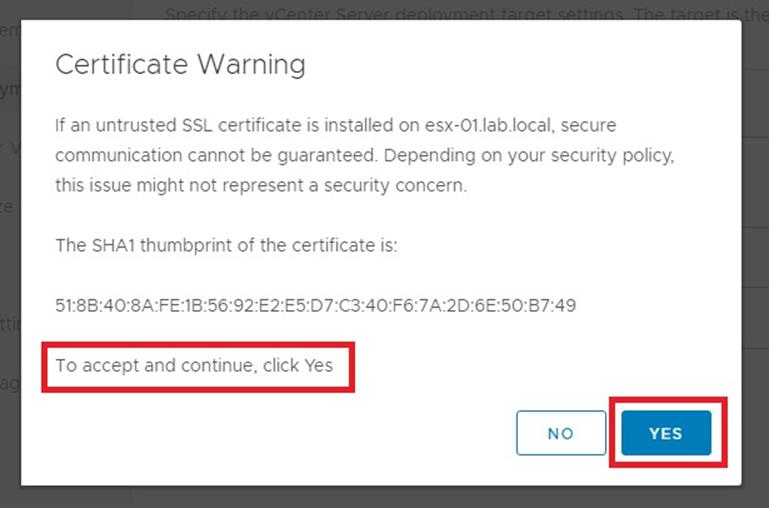
click Yes accept
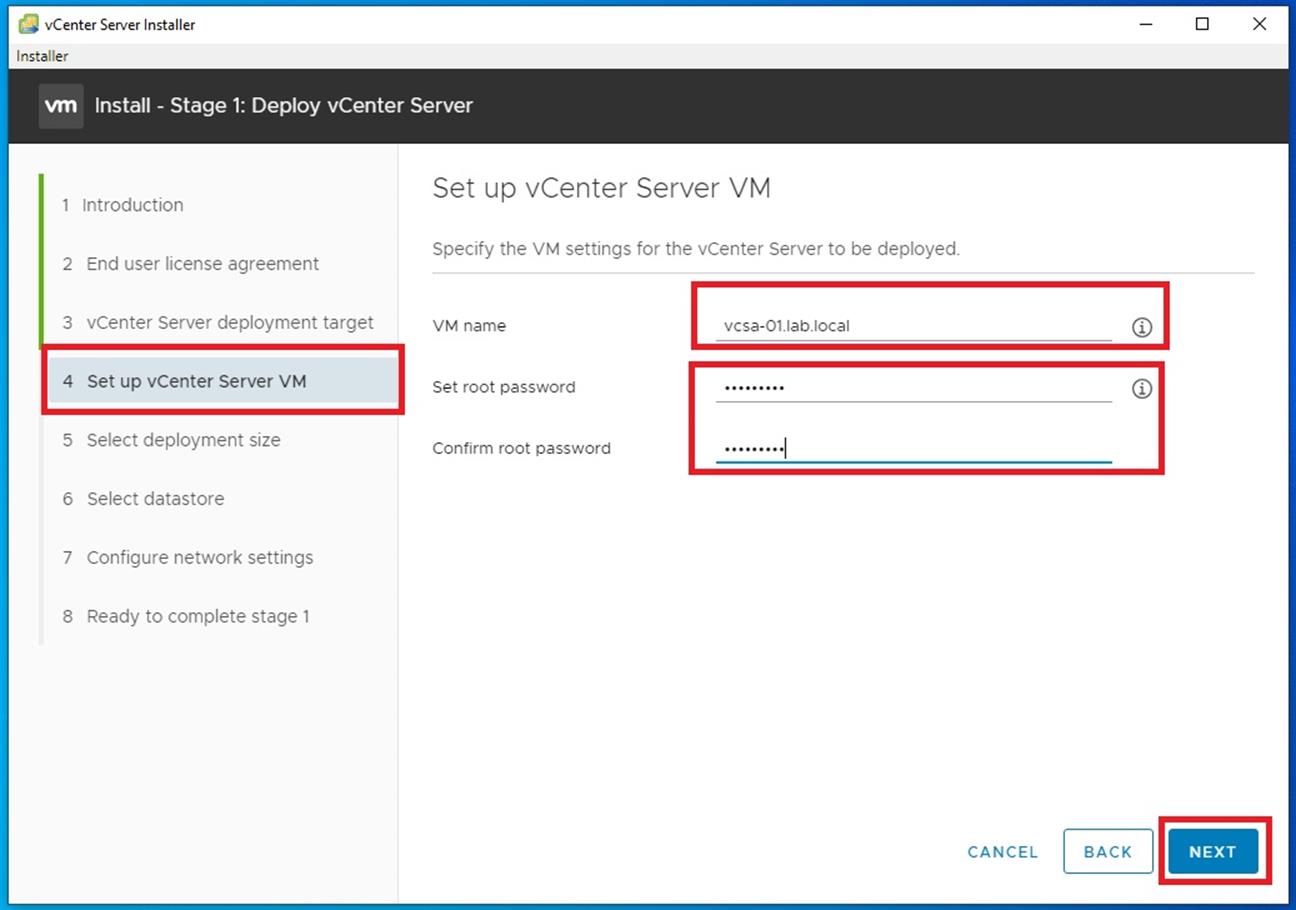
Step 4- set up vCenter Server VM, here we will be giving the new name of our vCenter 7 example vcsa-01.lab.local
Then you will need to set the root password and confirm it.
Click Next
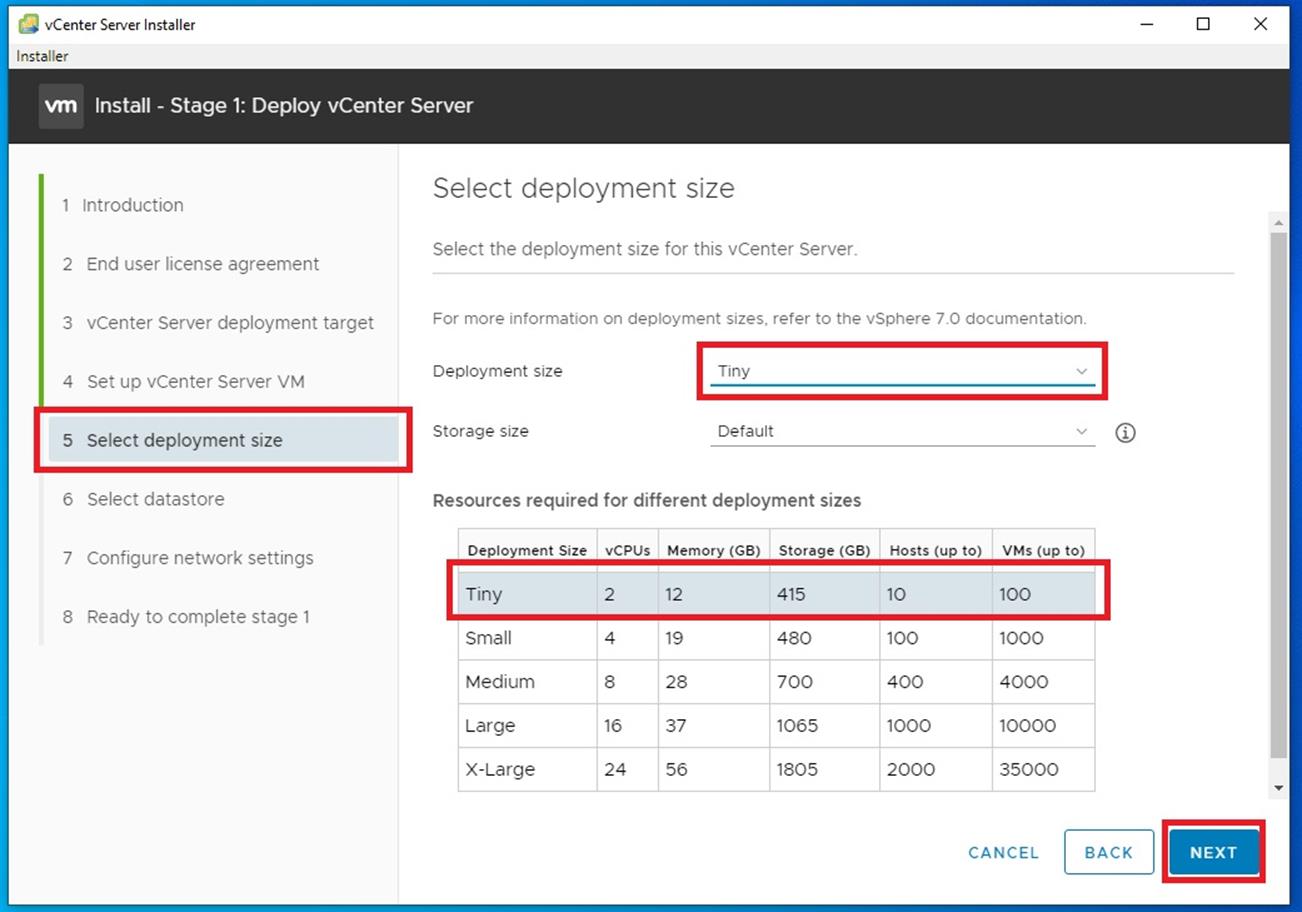
For my lab setup I will be selecting Tiny. However, a simple rule to follow is If it’s for your lab environment and you will never exceed 10 ESX host or 100 VM’s use Tiny If it’s for dev and you may increase this limit always go for the higher option. same applies for medium if there is a chance that you will go over this limit always chose the higher option Large. and if you may exceed the limit for large chose X-Large. Also, be mindful that more resources are required as you choose the bigger deployment.
Click Next
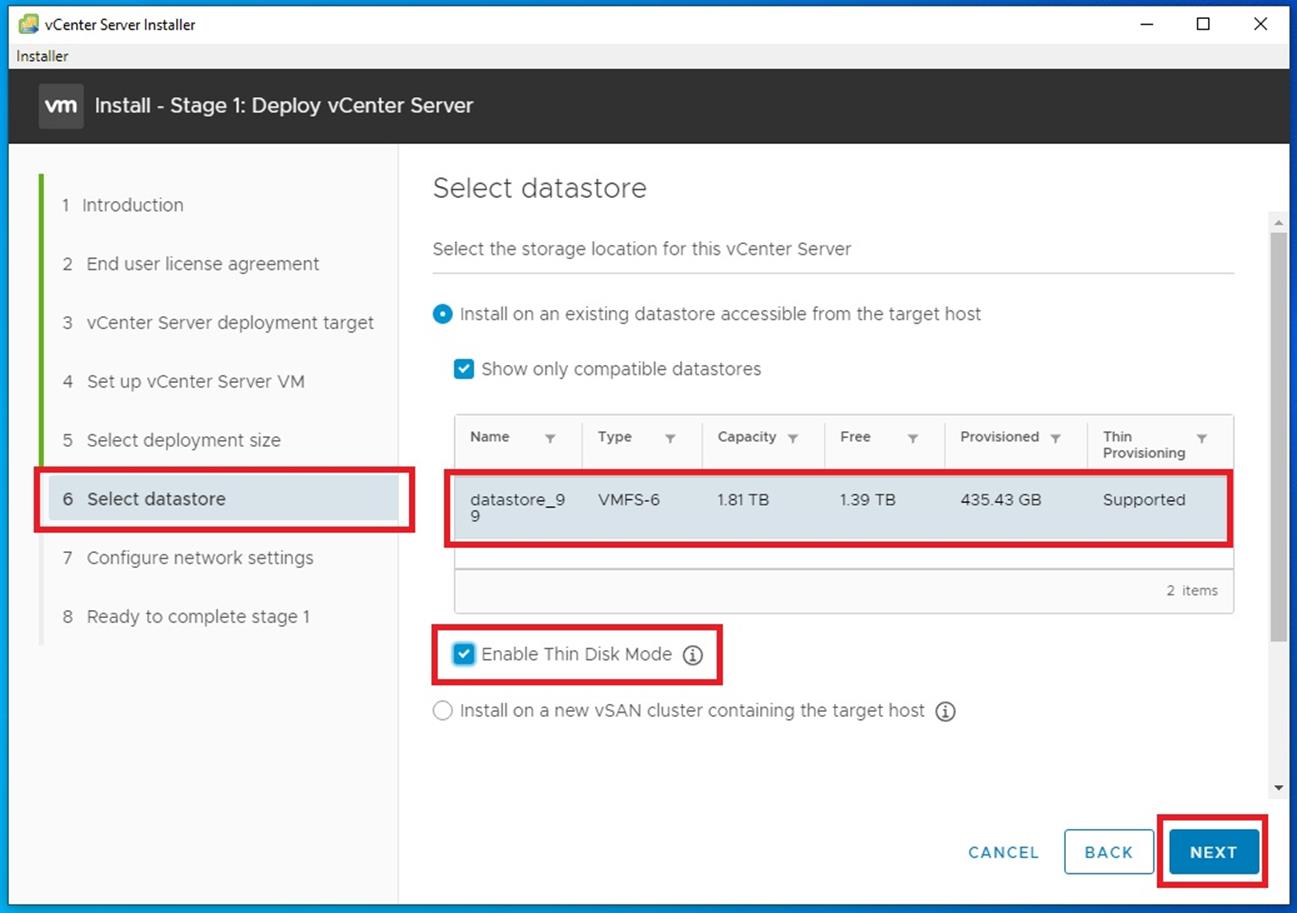
Step 6 you will be selecting which datastore ( datastore is the storage ) where we will be installing the VCSA. I have only got one local disk usually in a production environment you will be having shared storage and you can choose one of the shared LUN / datastore.
Note I have select the tick for Enable Thin Disk Mode. This is to only use the data as it grows and not allocate/ provision the disk upfront.
Click Next
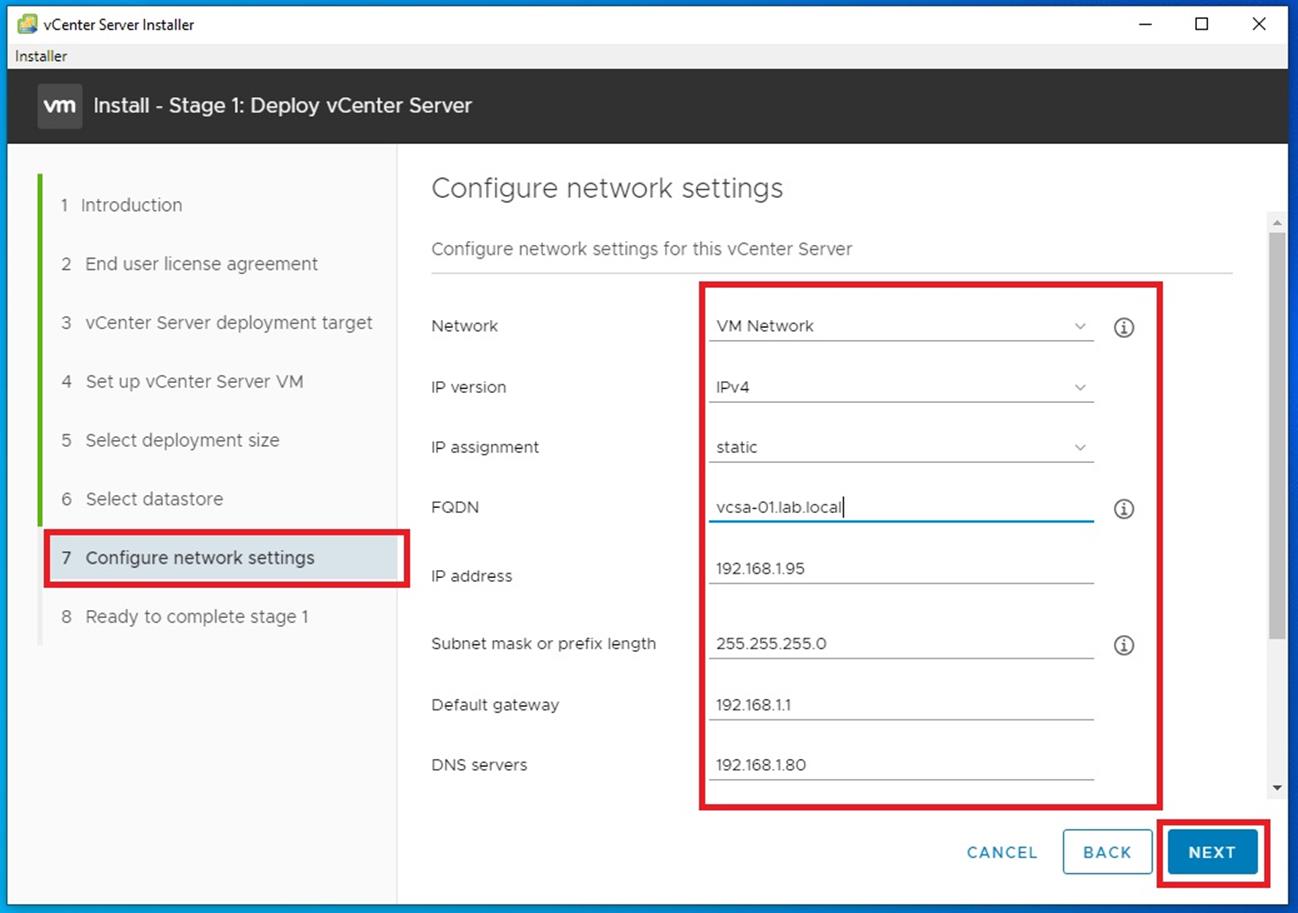
Step 7 an important point to note that vCenter is quite depended on DNS if you don’t have one at home for your lab I would suggest you stick to the IPaddress . so on the FQDN just give the ipaddress 192.168.1.95 instead of the name like I have given above vcsa-01.lab.local.
select static and assign the IPaddress, give the subnet mask, Default gateway, and DNS only if you have one or usually this is your broadbacd router at home and same as gateway ipaddress.
Click Next
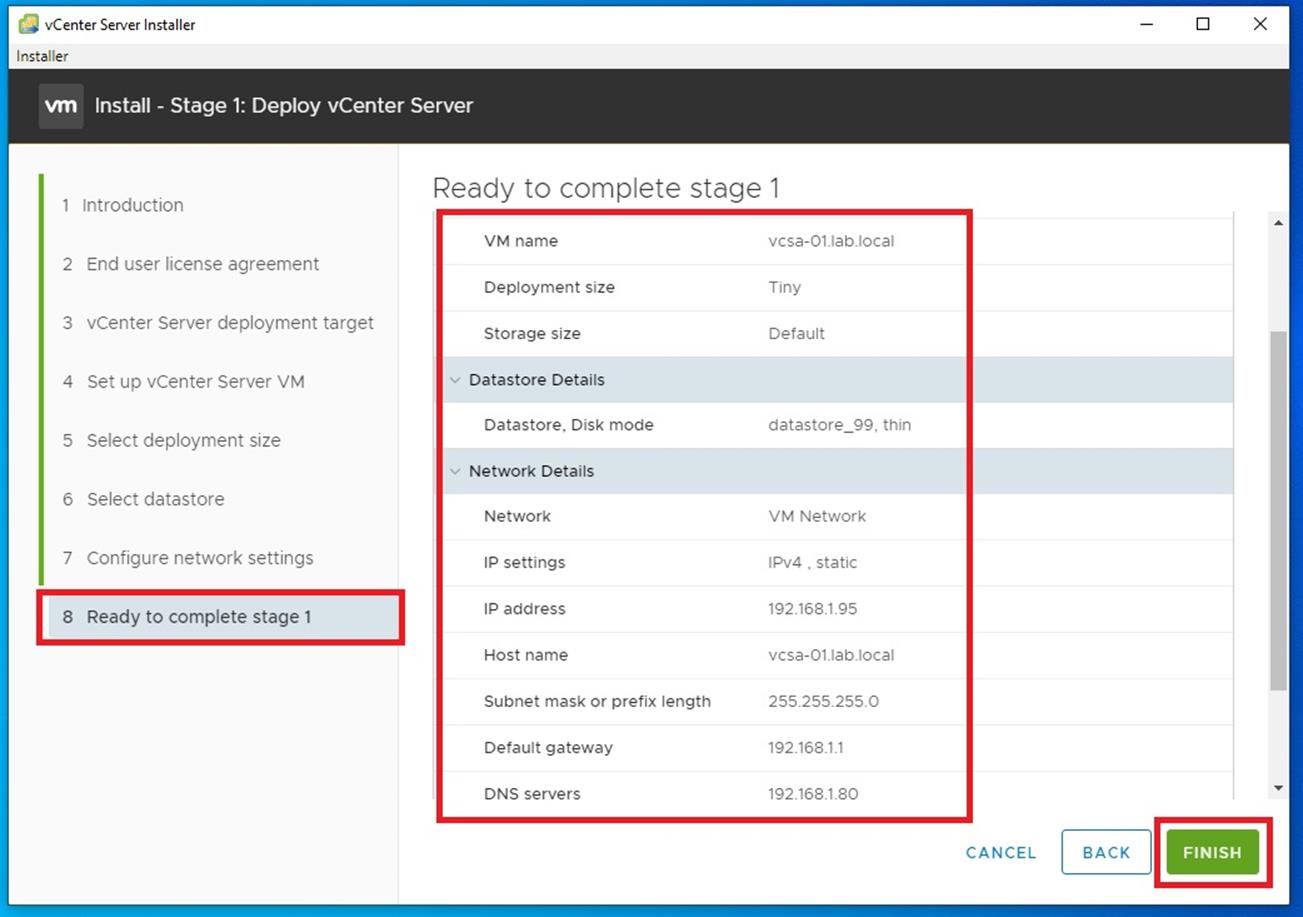
Step 8 Review the options you have selected and click Finish.
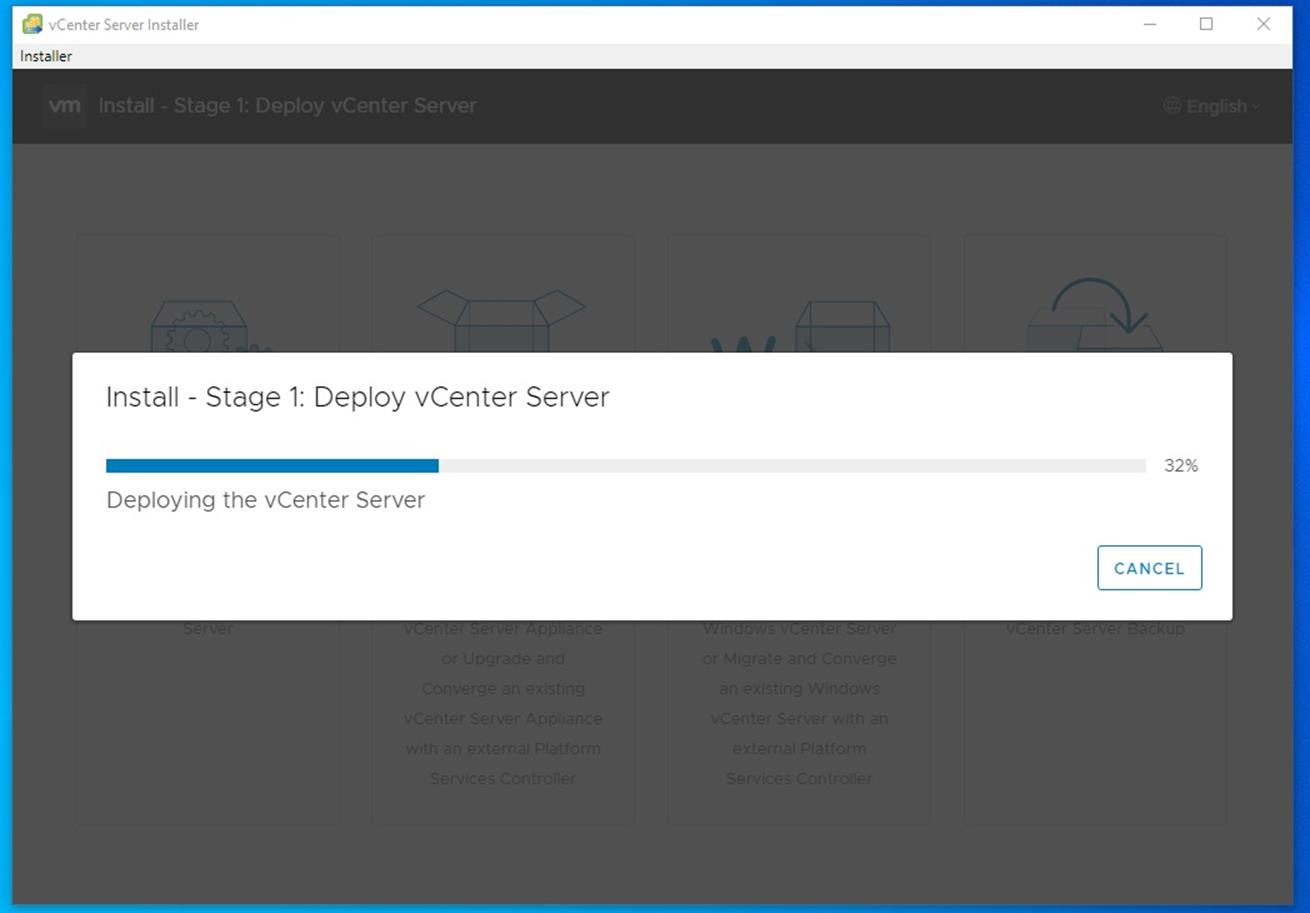
You can see the progress started
You could also log in to the ESXi host or the vCetner if you are deploying to an existing vCenter and check the deployment of the VM as shown below.

Once stage 1 is completed you will be starting the next Stage
Note: If you are already having a vCenter that you are upgrading or migrating from this is the right time to take a snapshot.
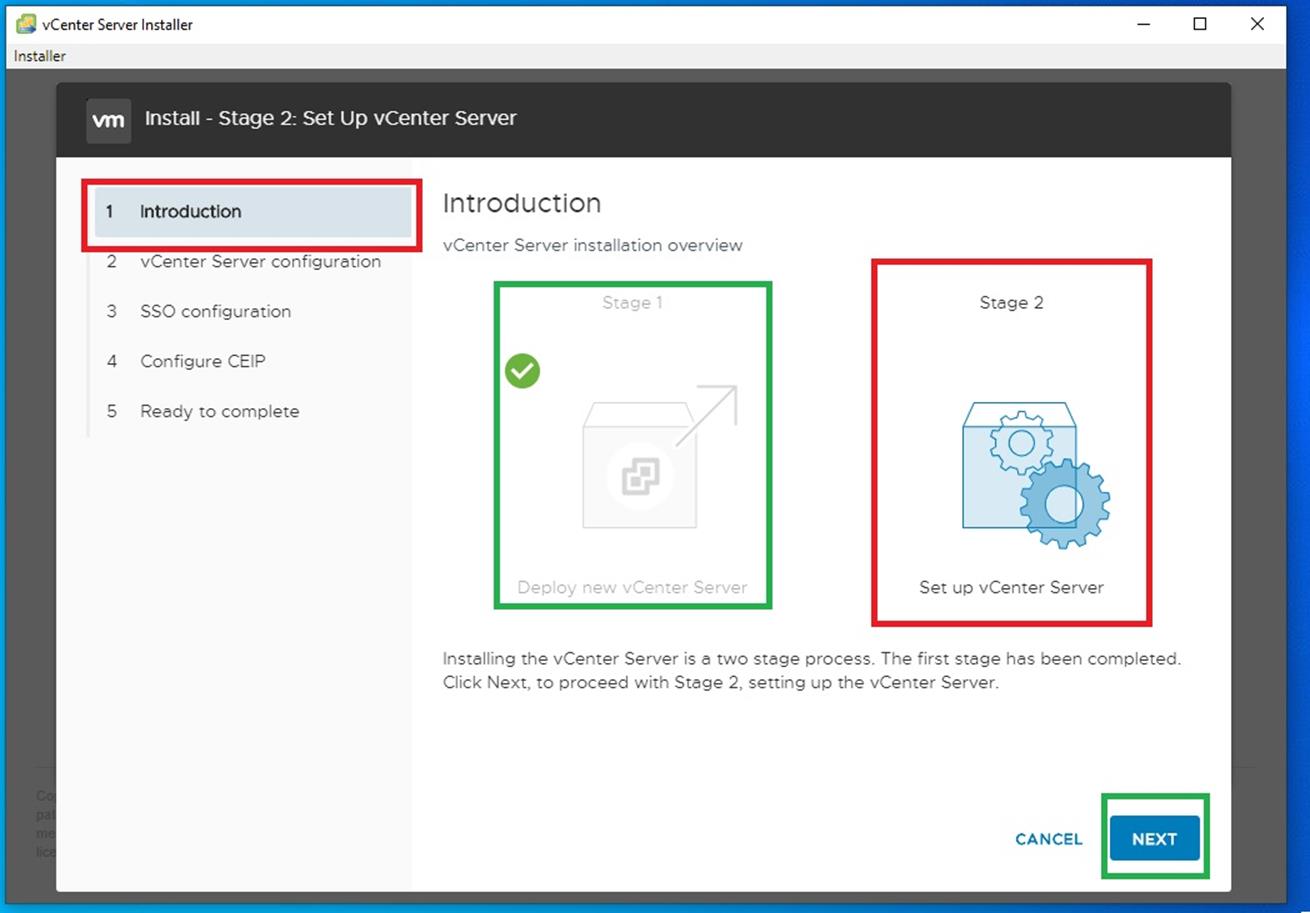
Stage 2
Stage 2 is set up of VCSA appliance copy configure setup SSO domain or join an existing domain if you already got one and wish to join it.
Click on Stage 2 and click Next
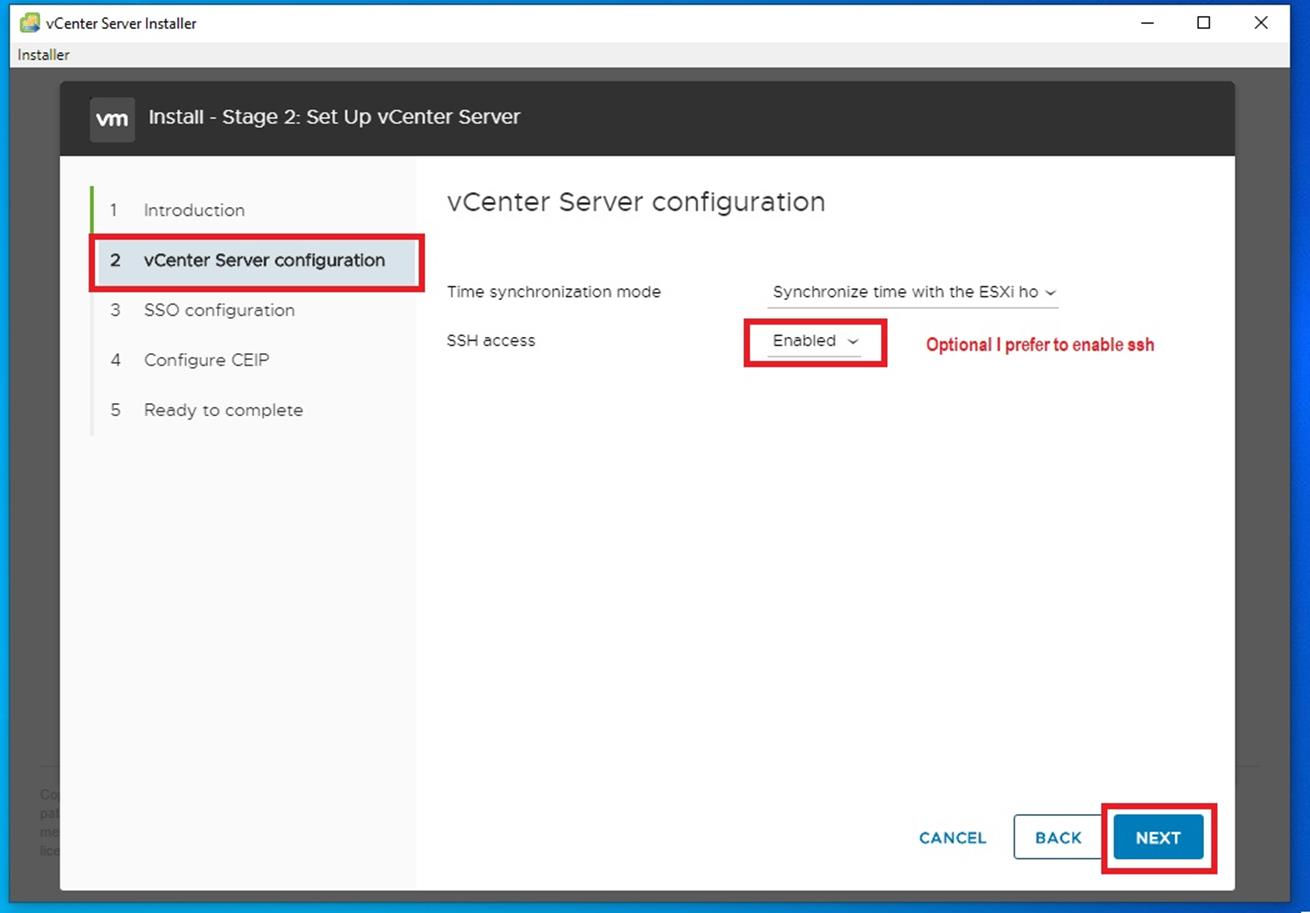
Step 2 vCenter server configuration: you can setup a new ntp server if you wish or select sync time with the ESXi host, you can choose if you like to enable the SSH access not recommended on the production environment.
Click Next
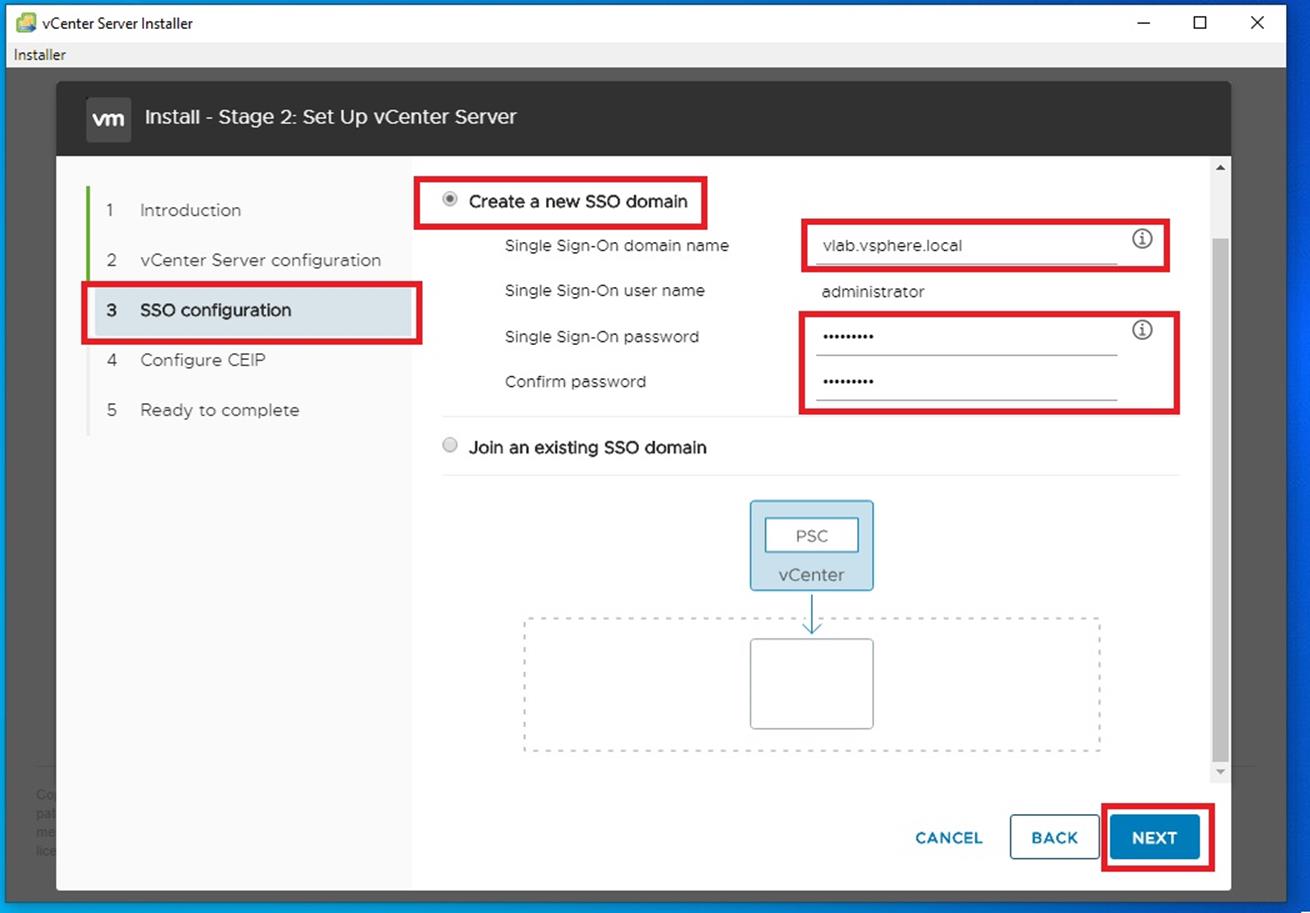
Step 3 you will setup a new SSO Domain or Join an existing one. Here you will see that if you had a previous setup of external PSC the vCetner server installation is going to Converge it and integrated it to the vCenter.
For my setup I will be setting up a new SSO doain called vlab.vsphere.local setup the administrator password and confirm it.
Click Next
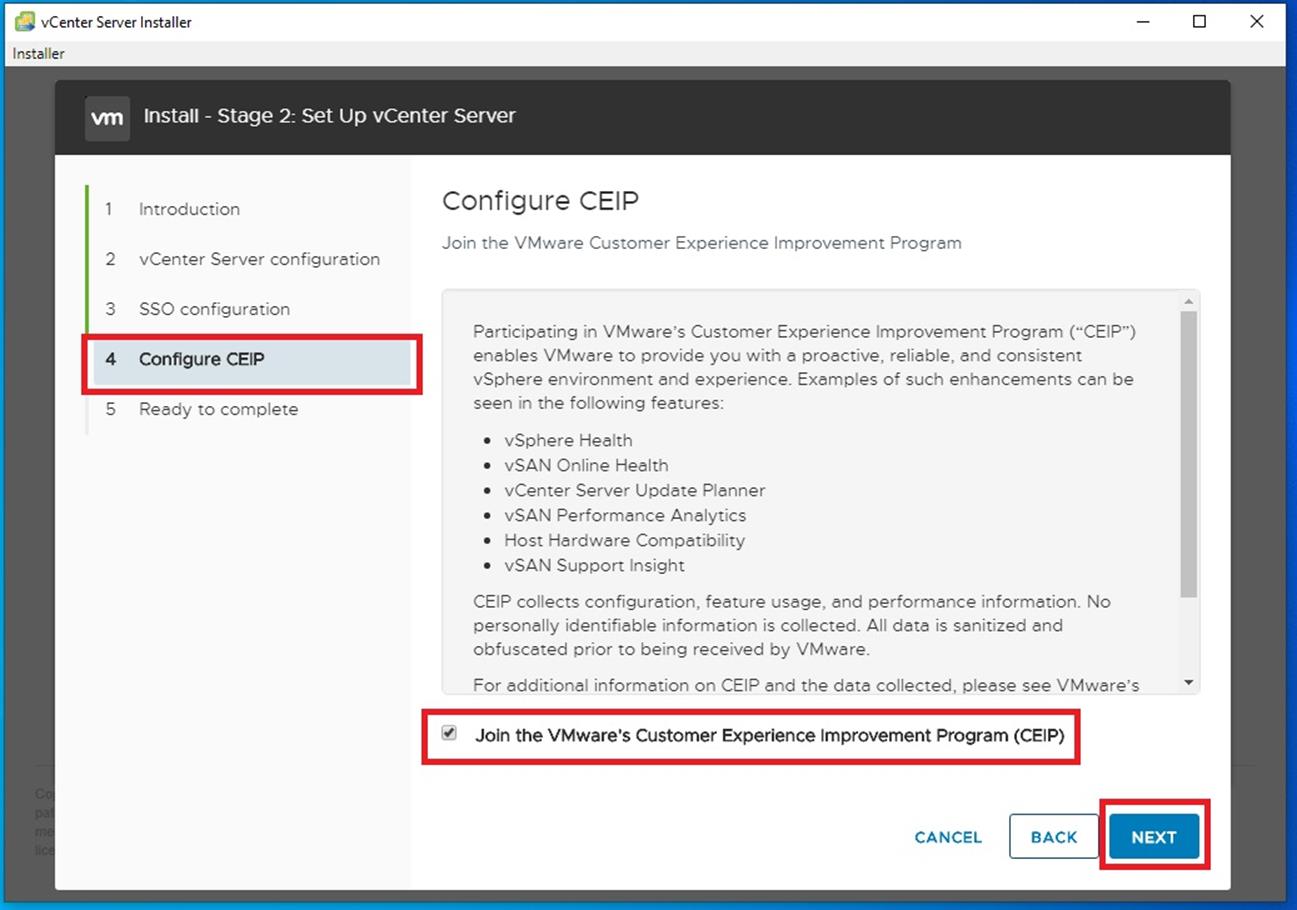
Step 4 you can choose to join the CEIP.
Click Next
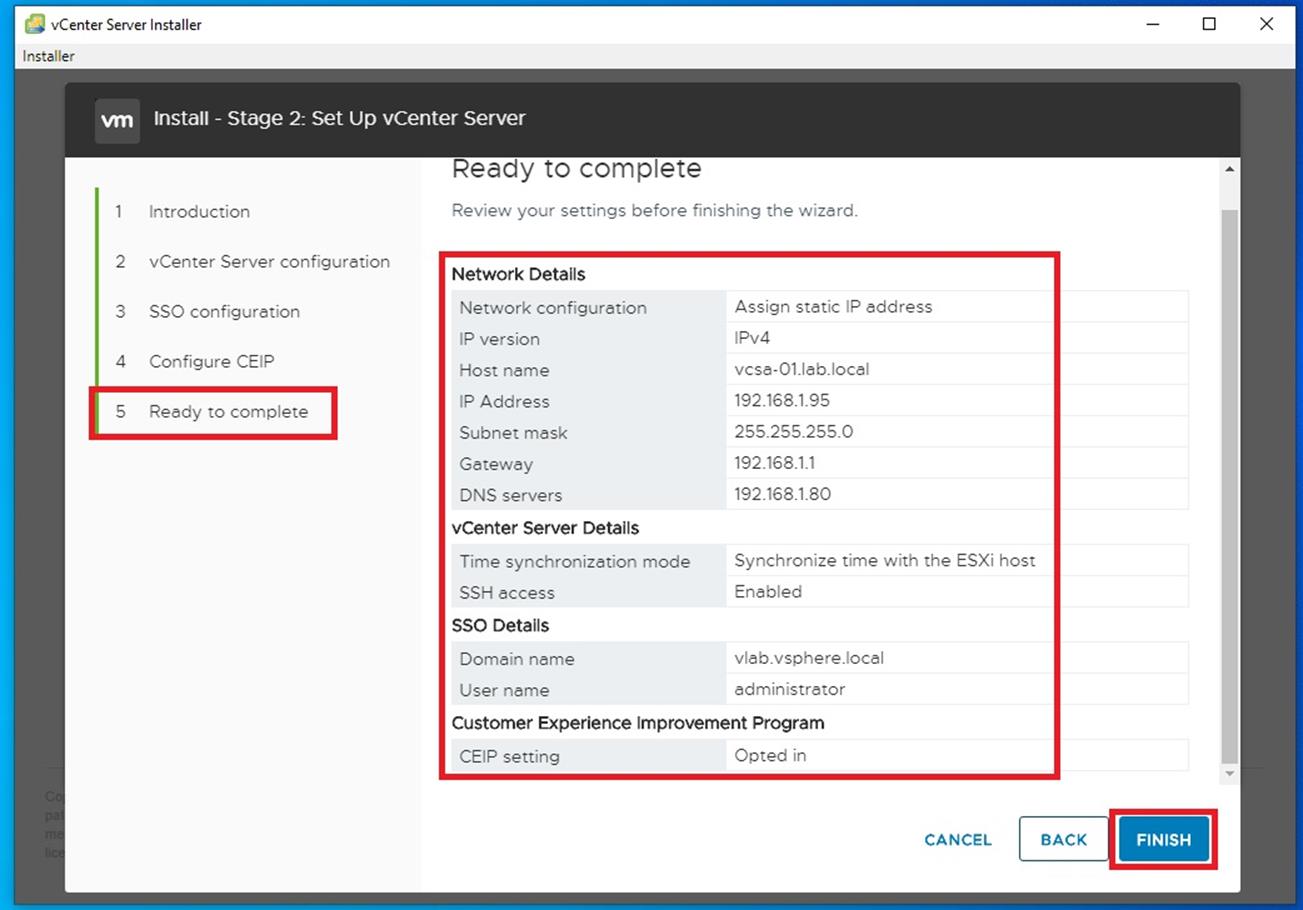
Step 5 Review all the configuration and click on Finish.
You will be prompted with the Warning that you will not be able to pause or stop the installation.
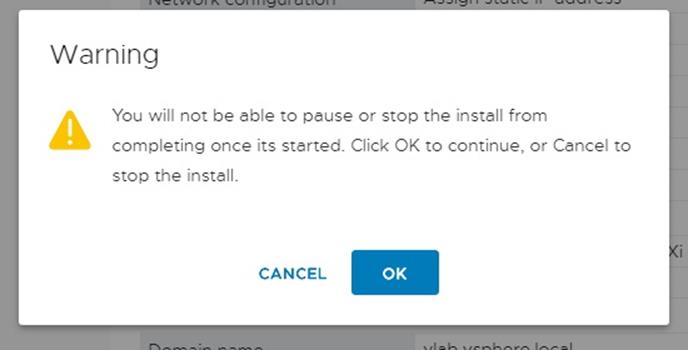
Click Ok to start the installation.

You can track the progress of the vCenter server.
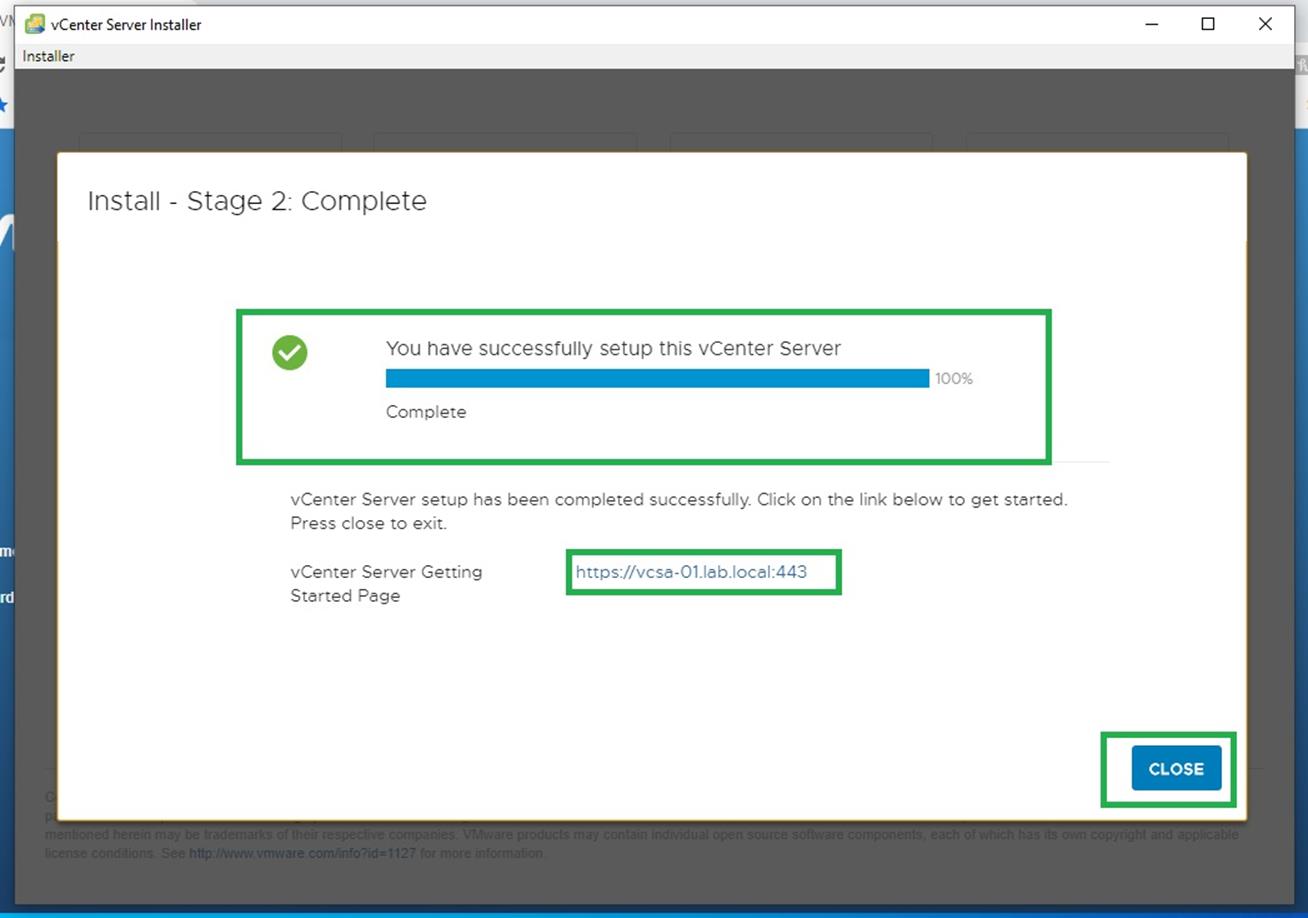
Once the installation is completed you will get the URL to login
Click Close
Congratulations you have successfully installed a new vCenter server in your environment.
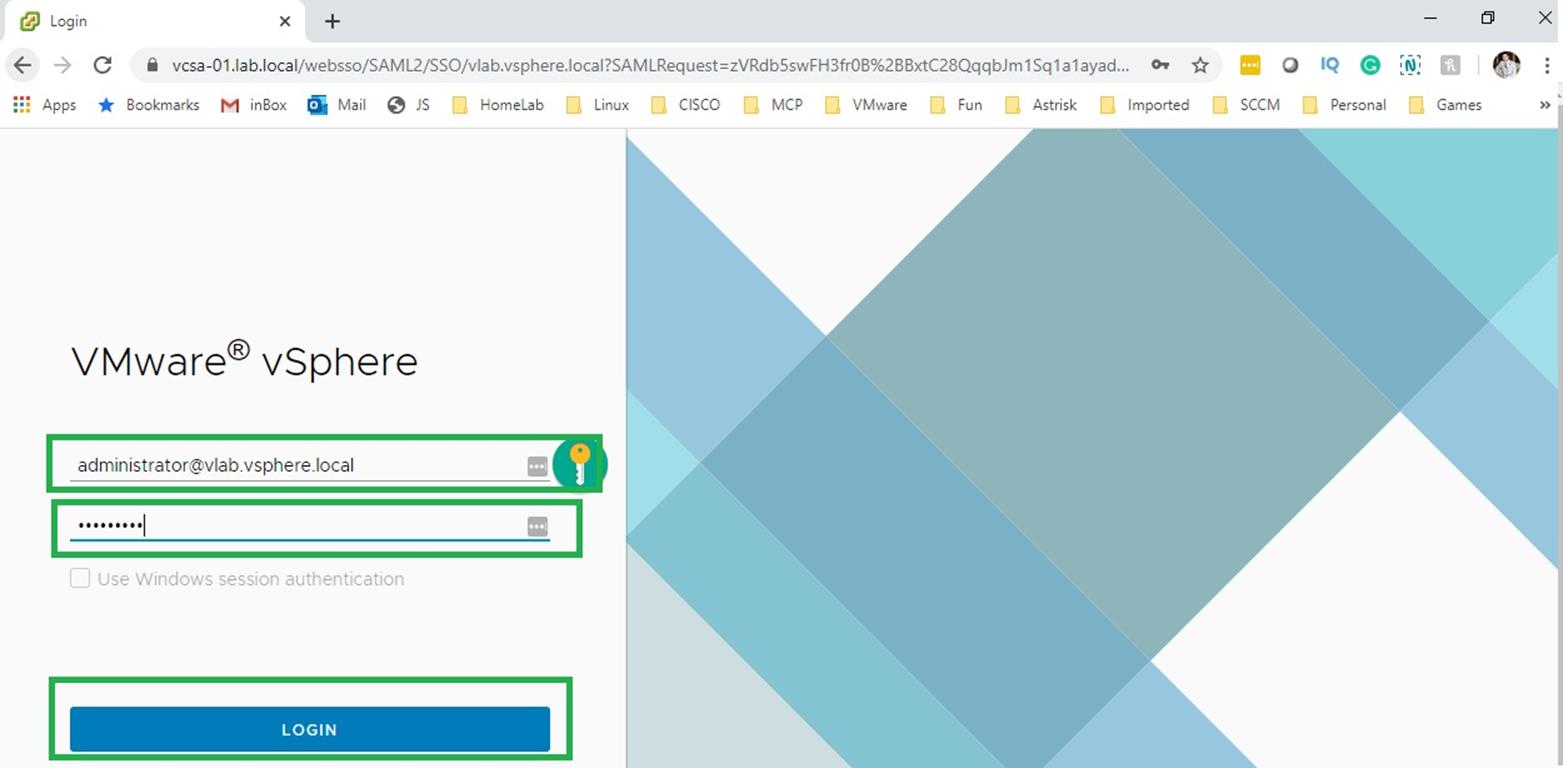
You can connect to the vCetner using the url https://vcsa-01.lab.local
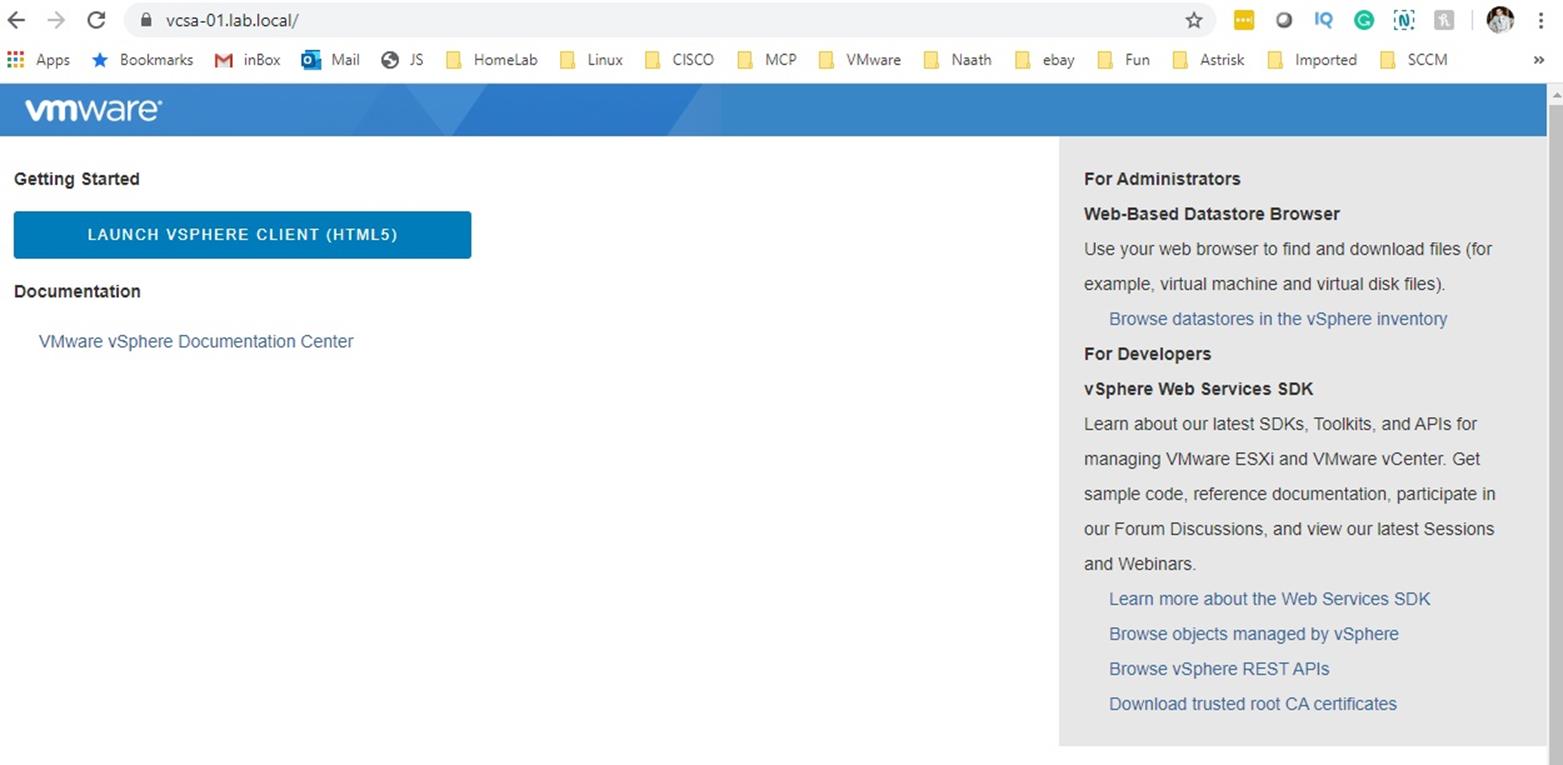
Test the login using the administrator@vlab.vsphere.local as my sso domain is vlab.